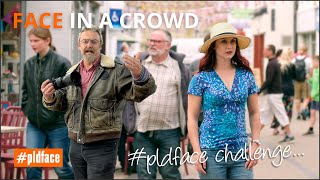
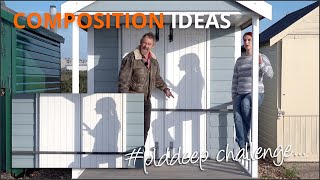
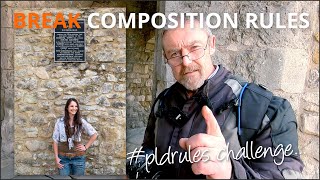
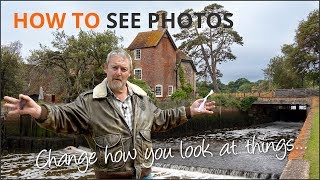
Free photography videos
Use the filters below to search hundreds of my videos by category and skill level
Captivating photos inspire and capture moments, from nature to emotion. Master your settings to express, not just capture, the subject. Please consider donating to support this valuable photography resource for all.
This video archive excels at technique research, but for a holistic learning experience, a structured course is key. Without guidance, it's all too easy to overlook critical connections, wasting time and causing frustration.
Join my online courses to save time and money. They're more affordable than the dream lens you keep thinking about and come highly recommended by hundreds of photographers.

Explore ALL our videos


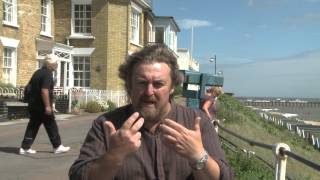
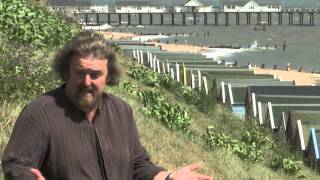


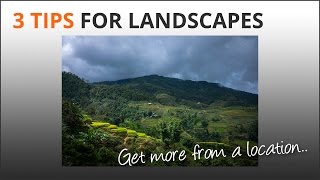
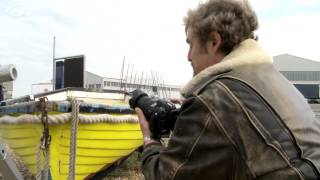
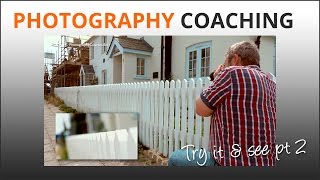
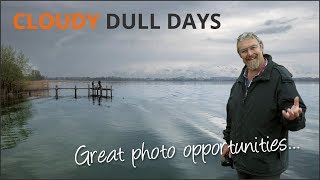
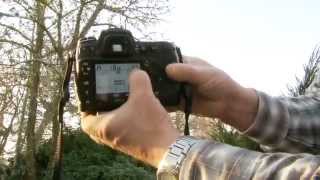
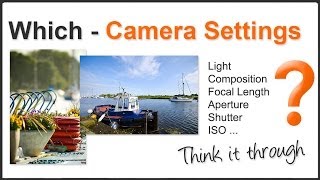
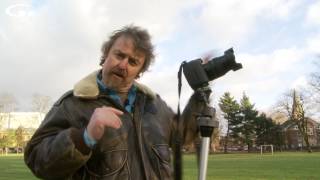
 Landscape photography is one of those areas where patience, thinking it through and taking your time pays dividends. We have all seen a scene we want to capture but sadly we’re in a hurry, so we leap out the car and just grab a shot without giving it too much thought.
This may or may not result in a great shot. But have you thought to ask yourself if there’s more to be had from a location than the obvious? You have to build upon an initial idea. Explore possibilities.
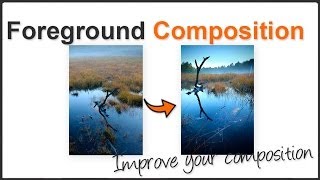
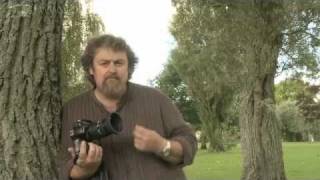
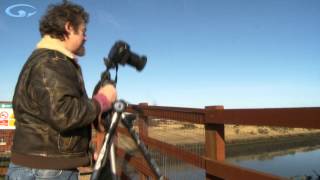
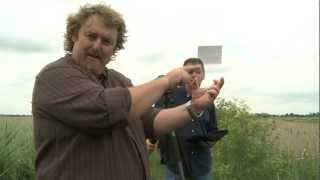
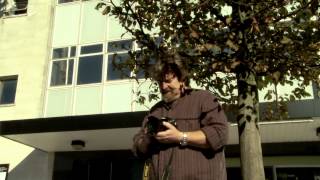
I was in Vietnam driving through the mountains when we came upon this amazing view of rice terraces. We stopped so the film crew could shoot some aerial shots with their drone so Simon and I took the opportunity to look around and shoot this video.
As we drove up the hill I’d noticed one of the little paths that wind their way through the paddies so we went for a walk to see what it would yield.
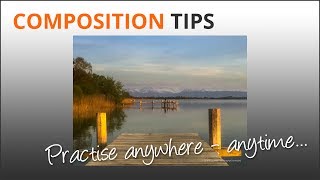
Almost straight away we came upon some greenery we could use as foreground, which can frame a scene and give it more depth. In some cases just finding a bit of foreground can make or break an image.
But don’t forget to look around you. It’s all to easy to miss a beautiful detail of the landscape that’s right next to you because you’re absorbed by what’s in front.
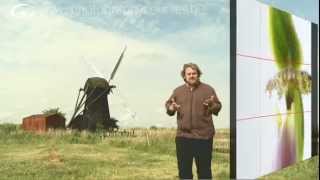
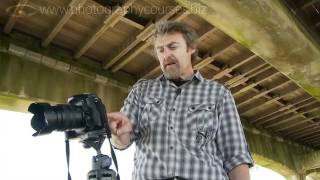
You have to concentrate and really look at a scene. In the first shot of the last scenario there’s a stick poking up on the left. I didn’t really notice it to begin with. It wasn’t until I checked the shot in the LCD it became apparent.
So how do we remove it? Well obviously there’s Photoshop but I’m lazy. A few steps to the side will change the geometry of the image. It makes things align differently so you can lose unwanted clutter from the composition.
So besides making sure the light is appropriate for the scene, here are 3 landscape photography tips to consider.
- Take time – think of other possibilities for the location
- Find some foreground. It could make a world of difference
- Look to the side as well as in front. You might have missed something
These things are not functions of your camera. They are functions of you thinking like a photographer.
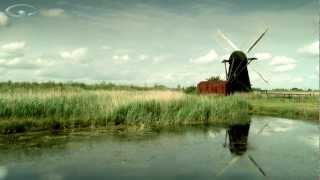
3 Landscape Tips


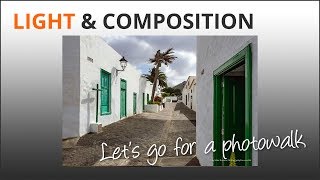


Online Courses
If you want to learn how to:
Get pin sharp pictures, understand composition,
watch your images comes to life, think like a photographer