How To See Photos
[Update: At 12:39 in the video the Ultimate Beginners Course has been replaced by A Masterclass In Photography]
“I’m pretty good with my camera - but how do I see photos?” I’ve been asked this one a lot and I sympathise because when I was learning, seeing and then composing photos was something I had to work hard at - and a lot of my students do too. Seeing a photo and composing a photo are like cousins. They’re related, but they’re not the same thing. Not to begin with anyway.
I bet there are occasions when you’ve seen something that interests you, but later when looking at the image it’s not fulfilling and doesn’t live up to expectations. It could be the subject was interesting but the light or composition wasn't great and spoilt it. Learn to stop looking at the subject for a moment and look at the whole picture and ask yourself if that’s the most pleasing way to align all the elements and is the light working for it? If not ask yourself what you can do about it...
Great Chefs say. “If it’s on the plate it’s a part of the dish. If you’re not meant to eat it - it has no place being there.”
Same with photography. If there’s something in your viewfinder that’s distracting from the experience of the image, it doesn’t belong there and it’s your job to find a way to do something about it. Maybe a different angle, different focal length and distance to subject…
It’s also possible to have a great composition, but the subject is boring. This one is most likely to appear when you look at the image after shooting it. There are times when we think we've got something interesting, then change our minds later. One of my mentors jokingly called it ‘subject failure’. A subject can’t fail - our interpretation of it on the other hand, can. I guess this is another way to say we all have ‘binners’ and ‘keepers’.
A moment or two ago I mentioned changing angles, focal lengths and distance to subject and as you become more experienced with changing the way you look at things you’ll begin to pre-visualise, to see how something will look with in your head - before you change how you’re looking at it. Imagine having that ability for a moment. You’d be truly seeing photos, not only out in the real world, but inside your head and if you know how to utilise camera angles, focal length and distance to subject you’ll be able to capture them with ease.
“Change the way you look at something and the thing you’re looking at changes.”
Totally inspiring, so easy and it’ll push your images several notches up the scale. You just have to work through it and take the time to do it - to begin with anyway. The more you practise it, the quicker you become at it.
One of the biggest culprits is inappropriate light for the subject. I didn’t say ‘bad’ light because what’s ‘bad’ for one thing might be fan-bloody-tastic for something else. It’s appropriate light you’re looking for and as you become more experienced recognising appropriate light and being able to work with it becomes part of the seeing process. I didn’t go into that in the video because A: I didn’t want to bring too many complex concepts into it all at once. And B: I like to keep something back for you because you are here on my site reading this blog post and therefore supporting me. It’s a little extra Thank You…
Feeling excited and inspired makes a big impact on your images. You can’t see images and be creative when you’re feeling bored, distracted, confused by camera settings etc. You might be thinking. “It’s OK for you to say that but I live in a boring place with nothing worth shooting.” Well go somewhere that does then. Hop on a bus,train, in the car, invest in a super exciting workshop somewhere overflowing with photos.
If camera settings or appropriate light confuses you, invest in some of my online courses and get un-confused. They’re a lot cheaper than the new lens you’re lusting after and probably don’t need. I mostly use a bog standard 18-55mm for everything.
Once you've found your photos, composition and focal length are best mates. Understanding how to use it will help you find ways to make them photos pop.
Until next time…

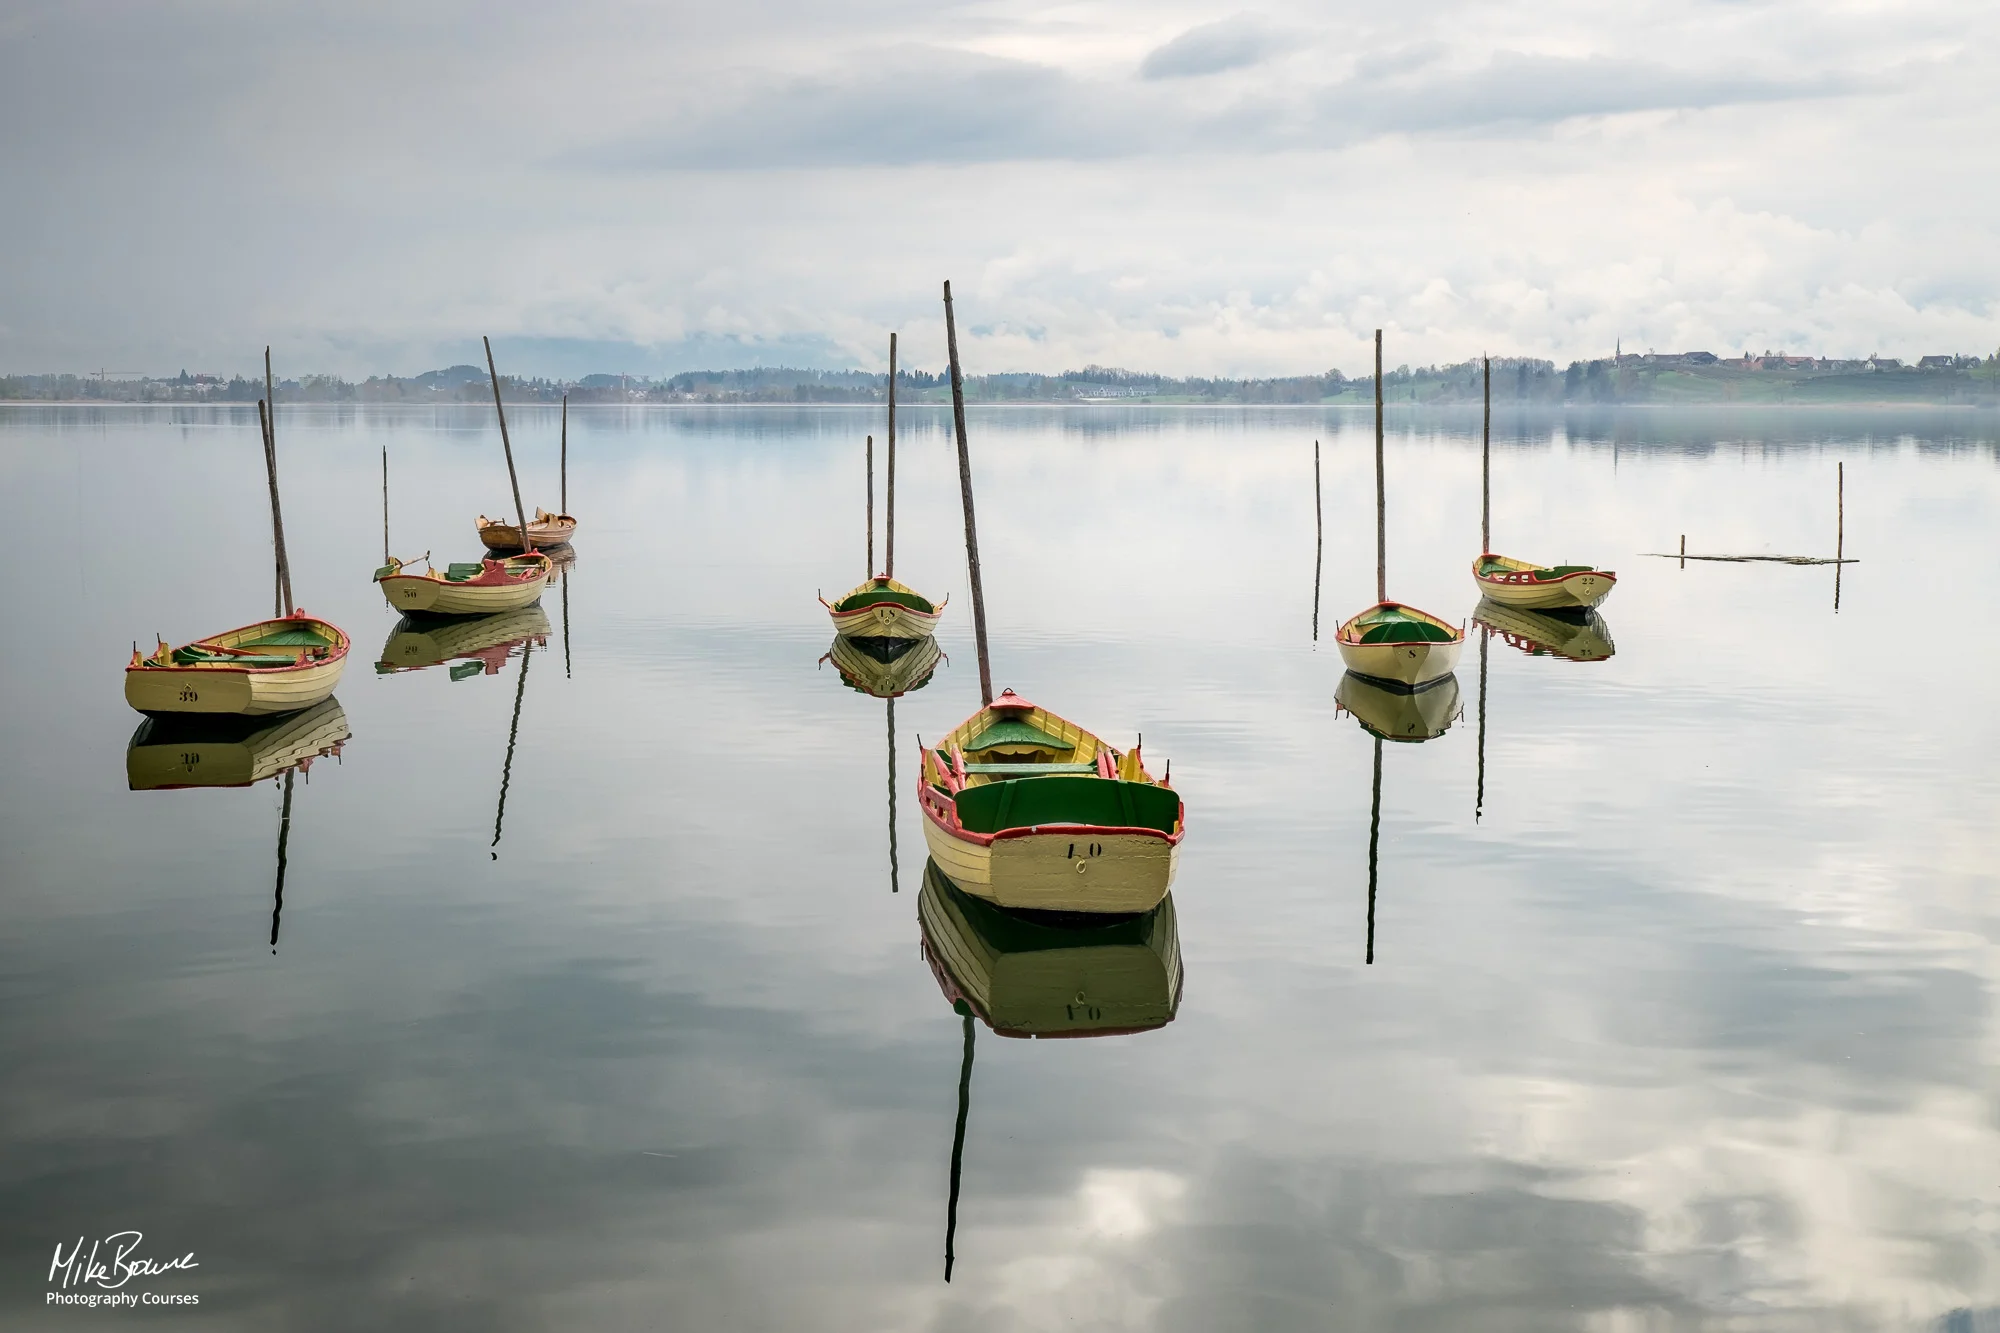
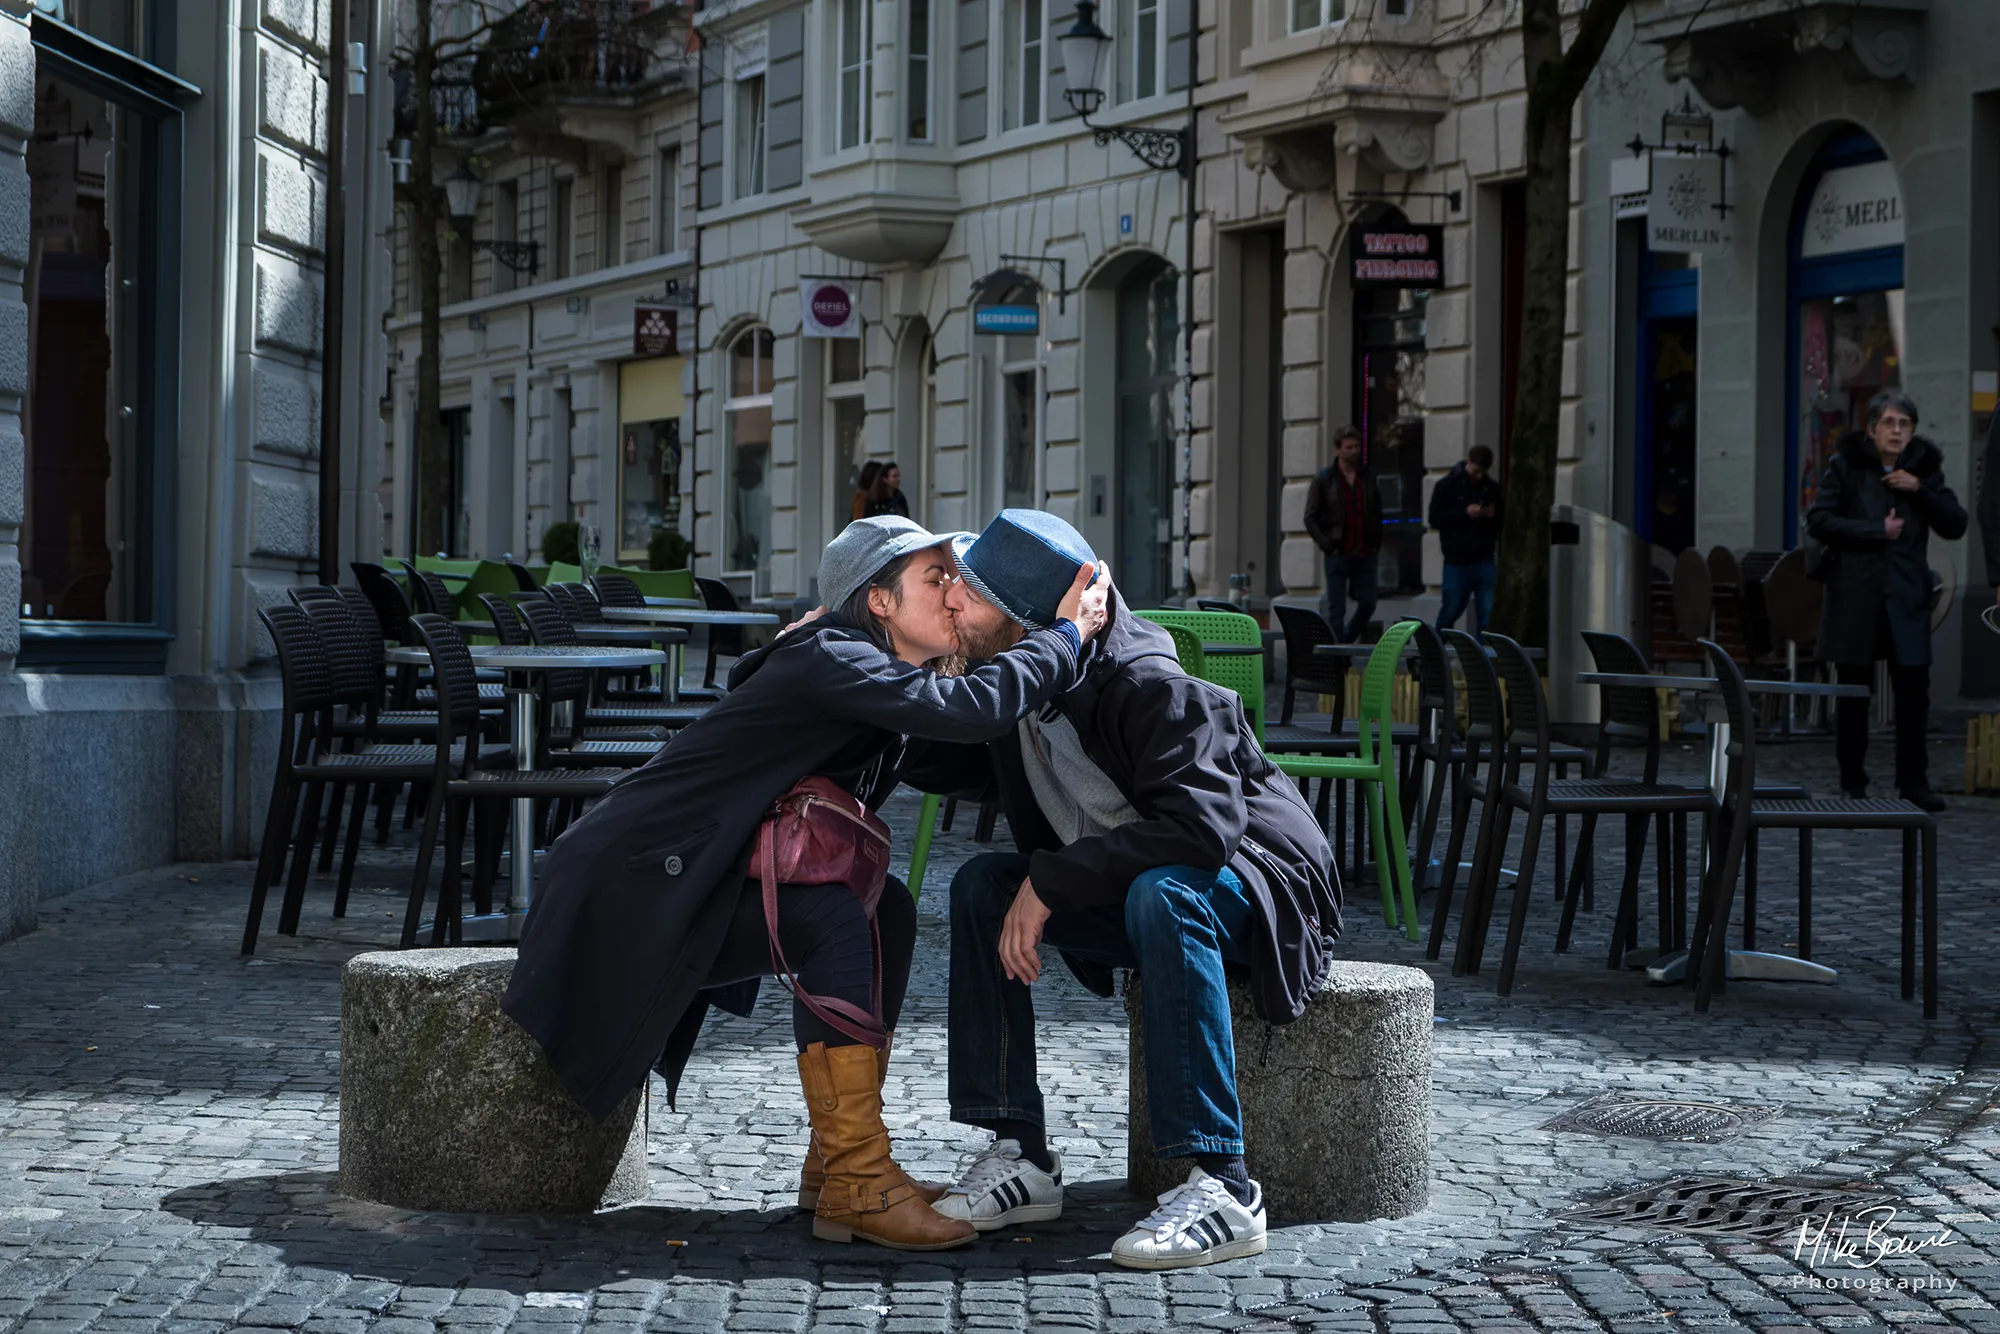
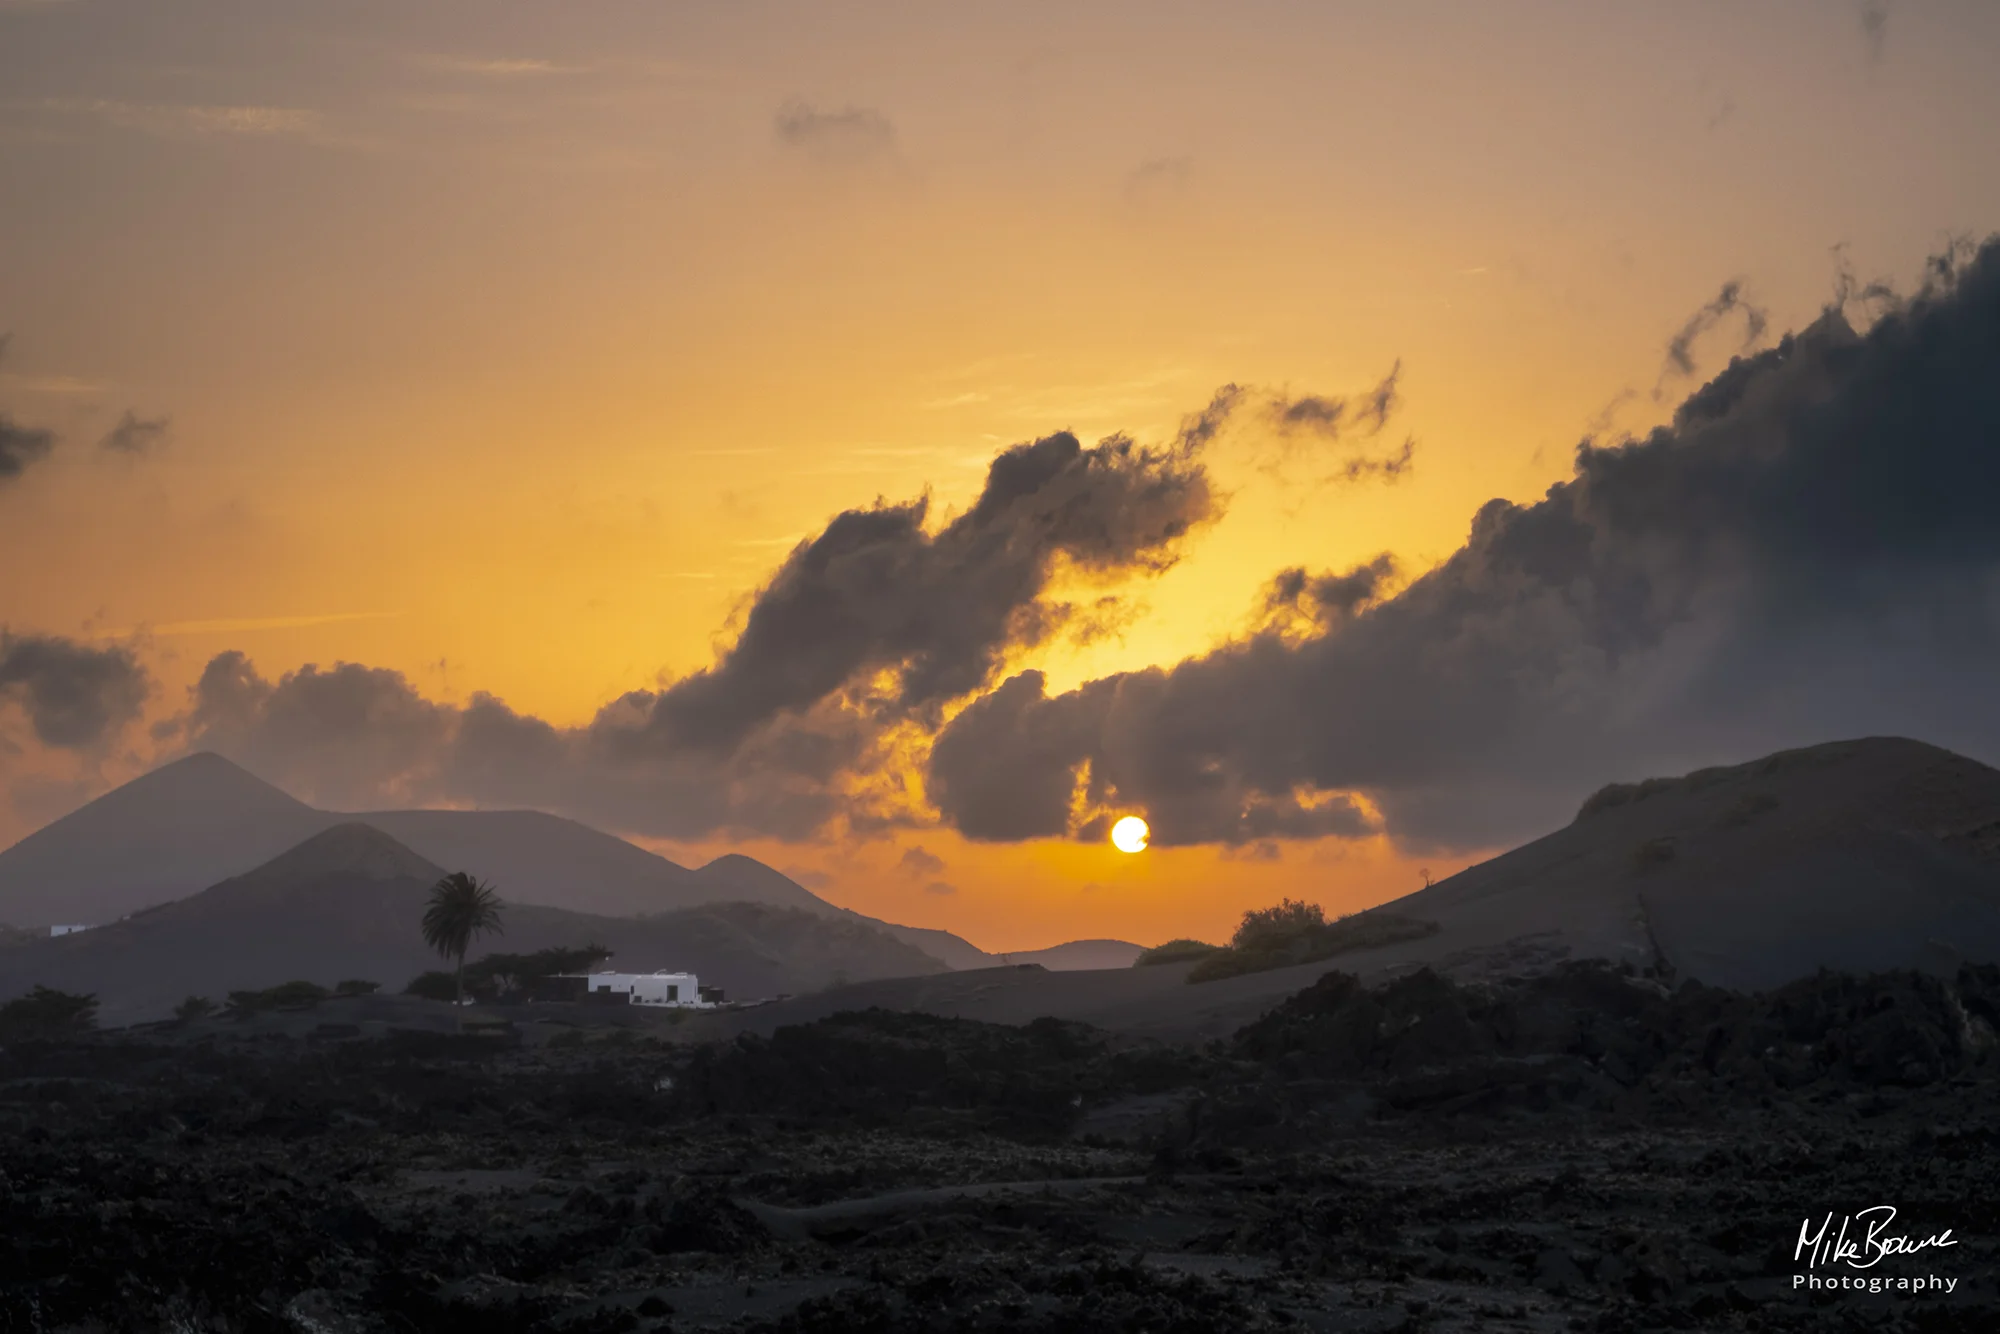
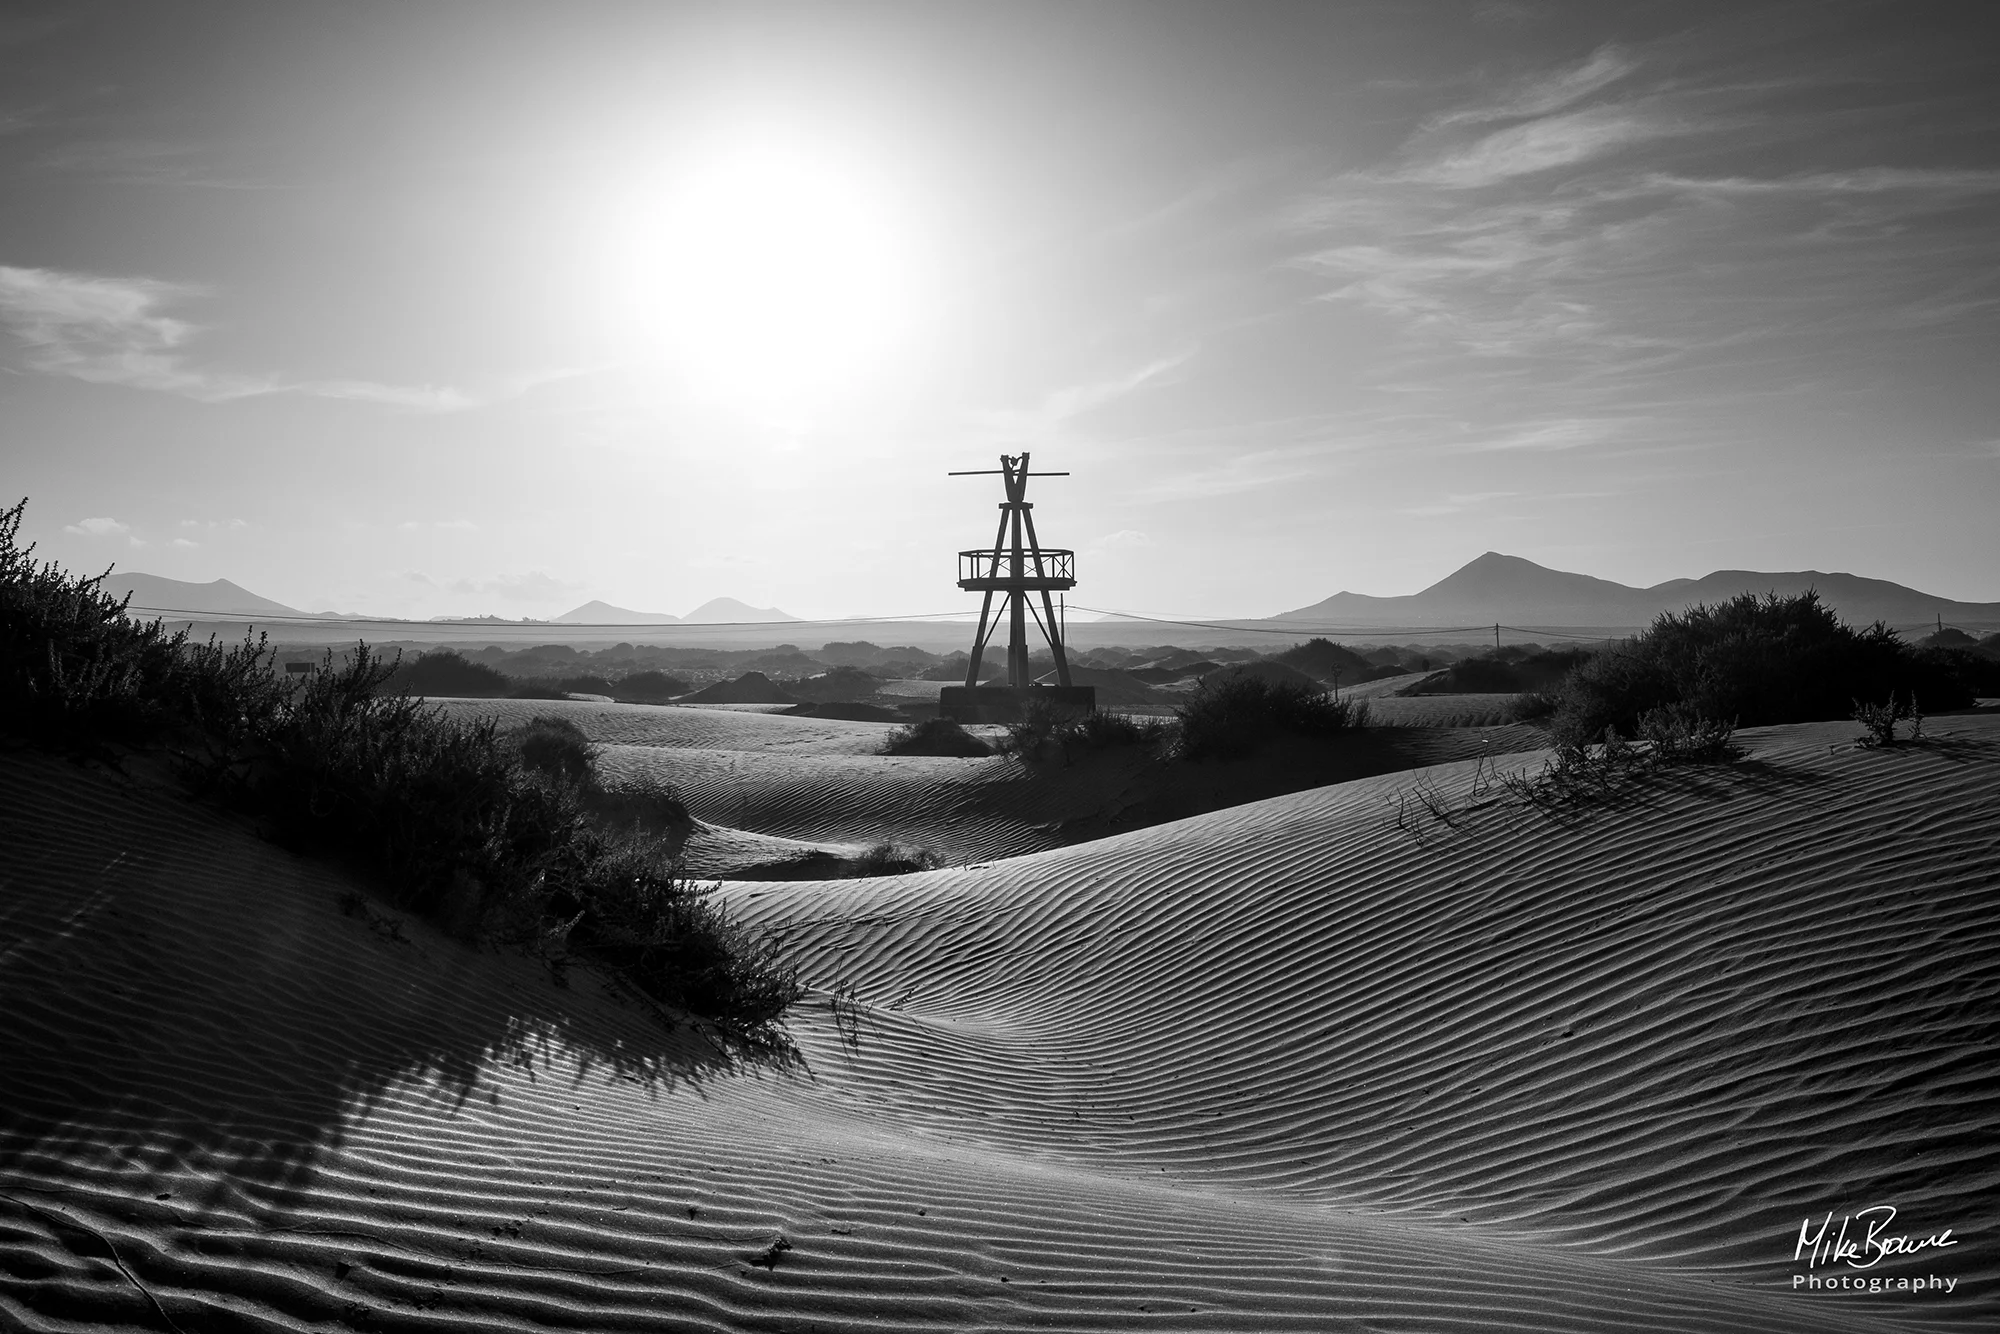
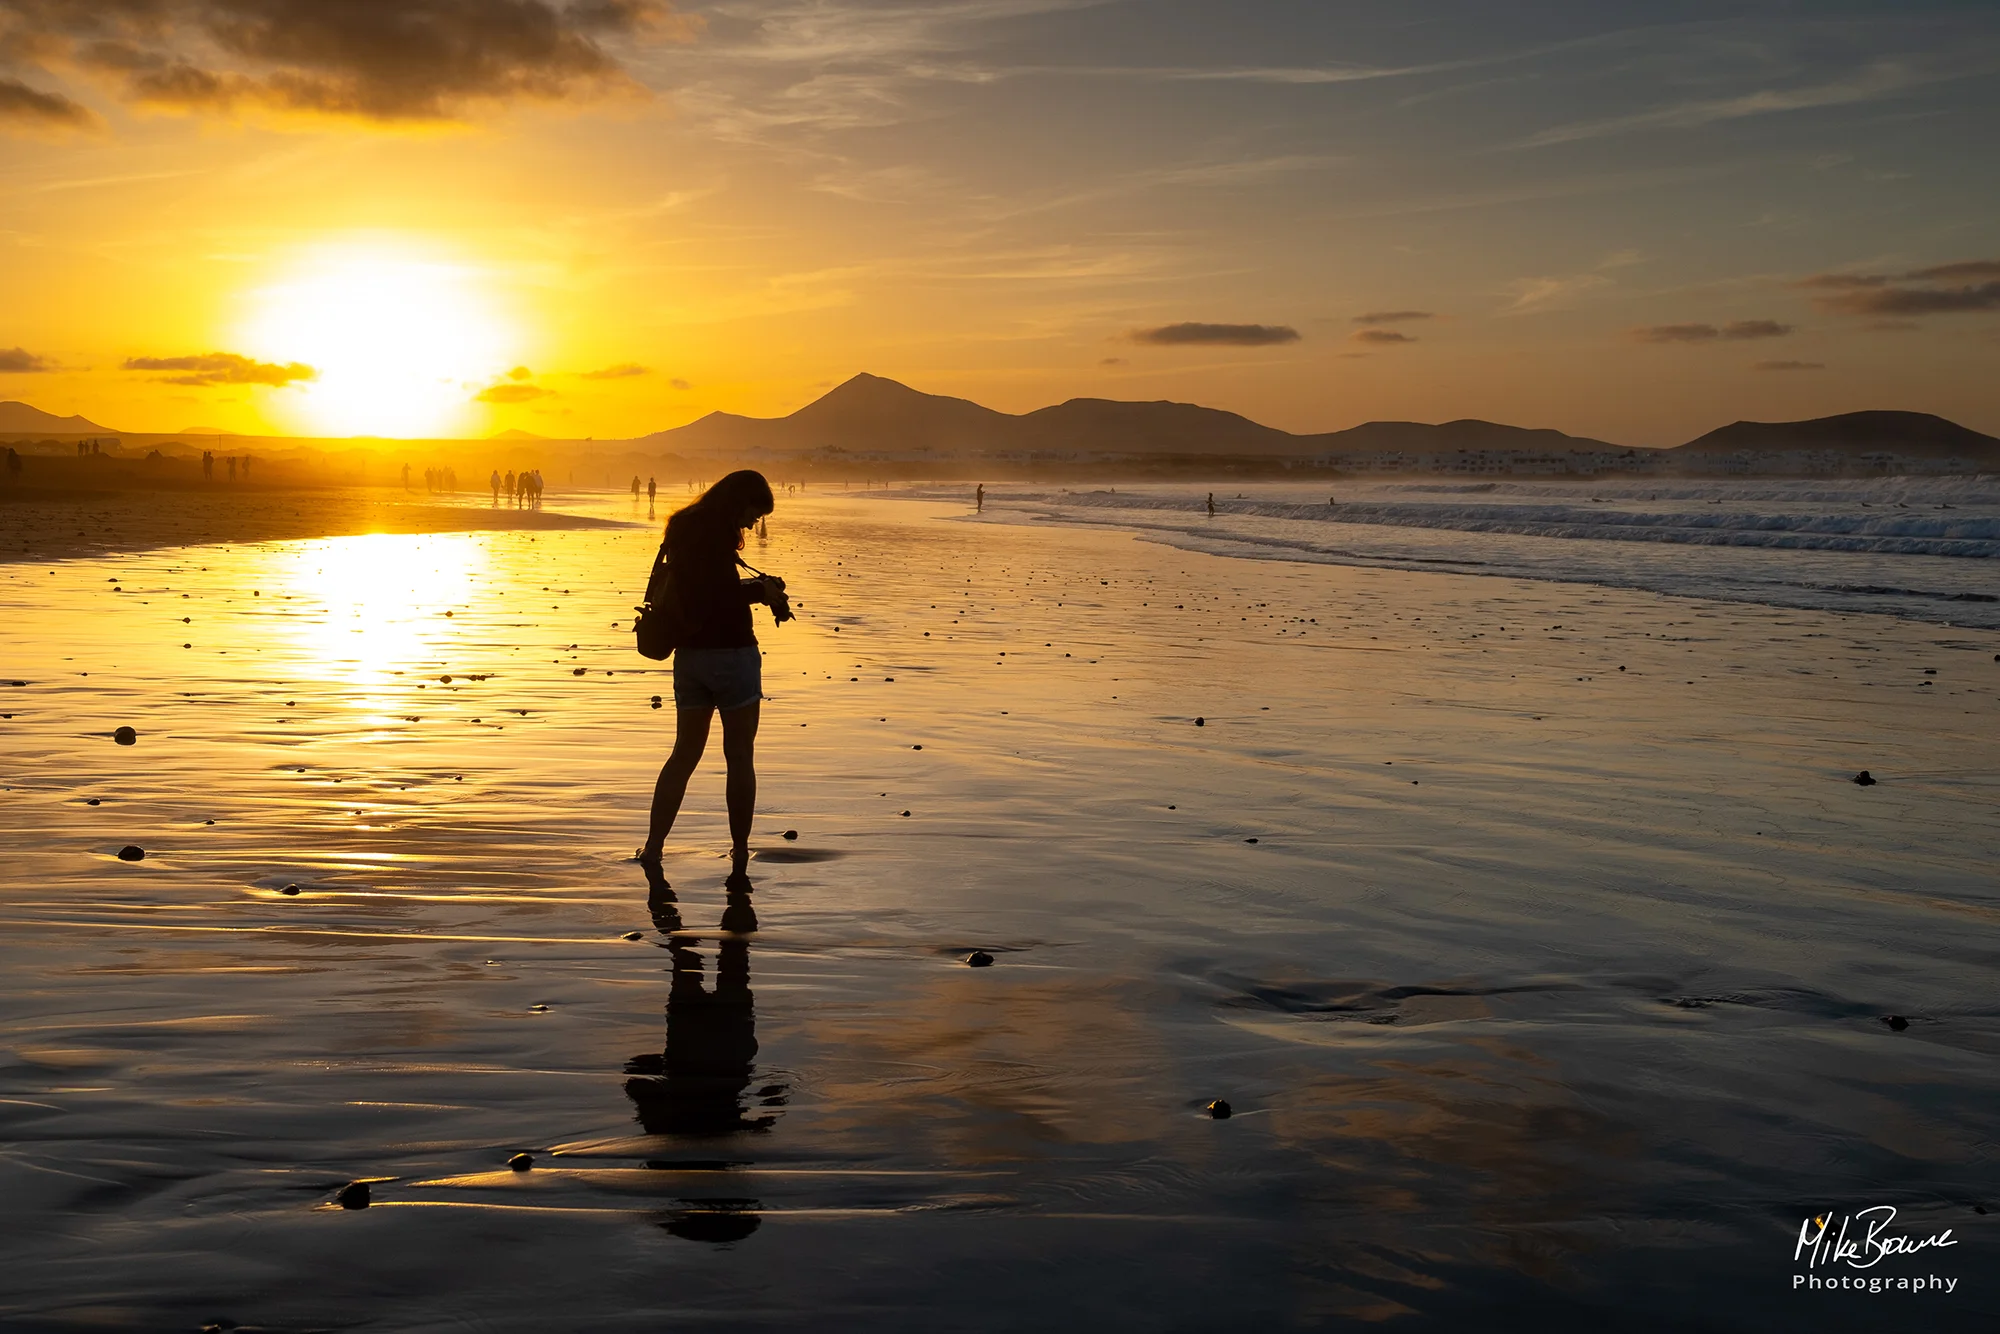
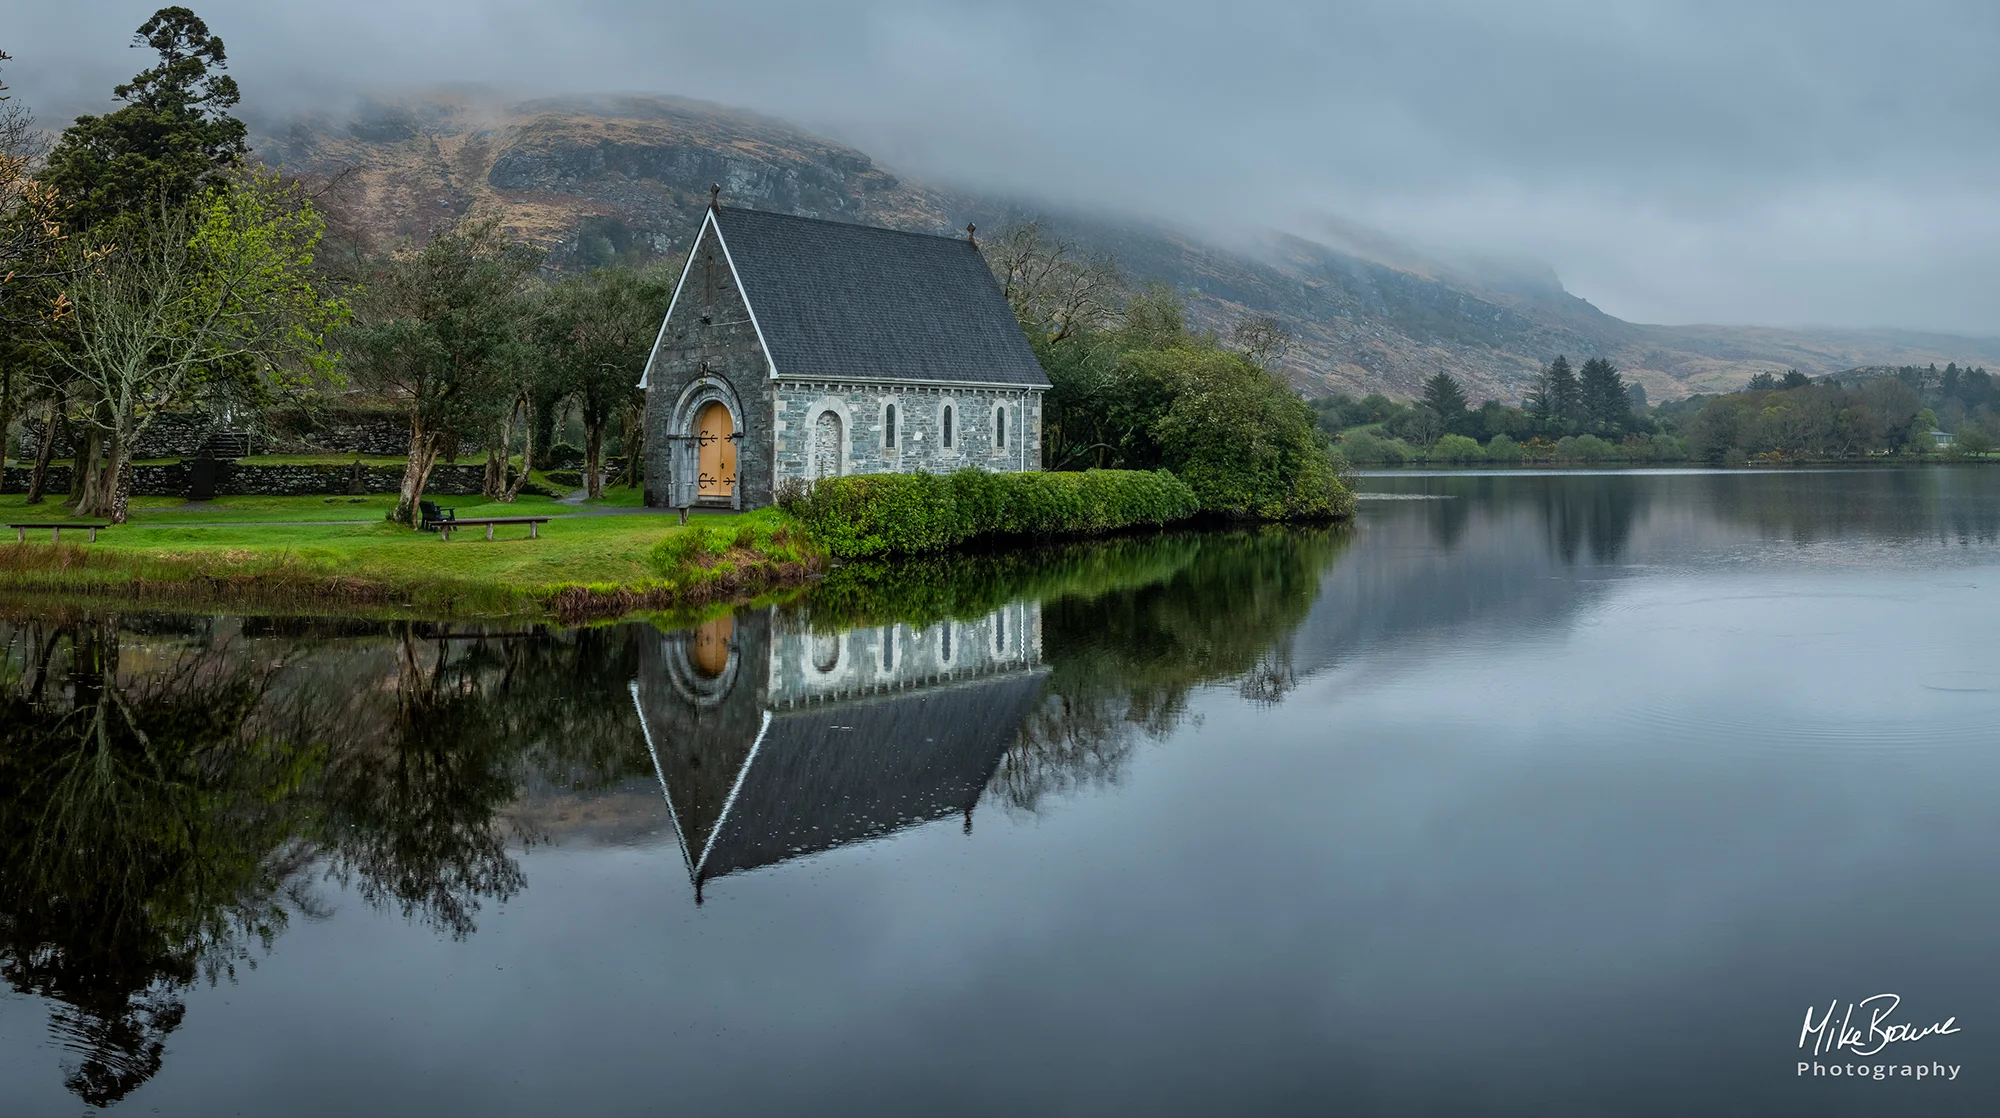
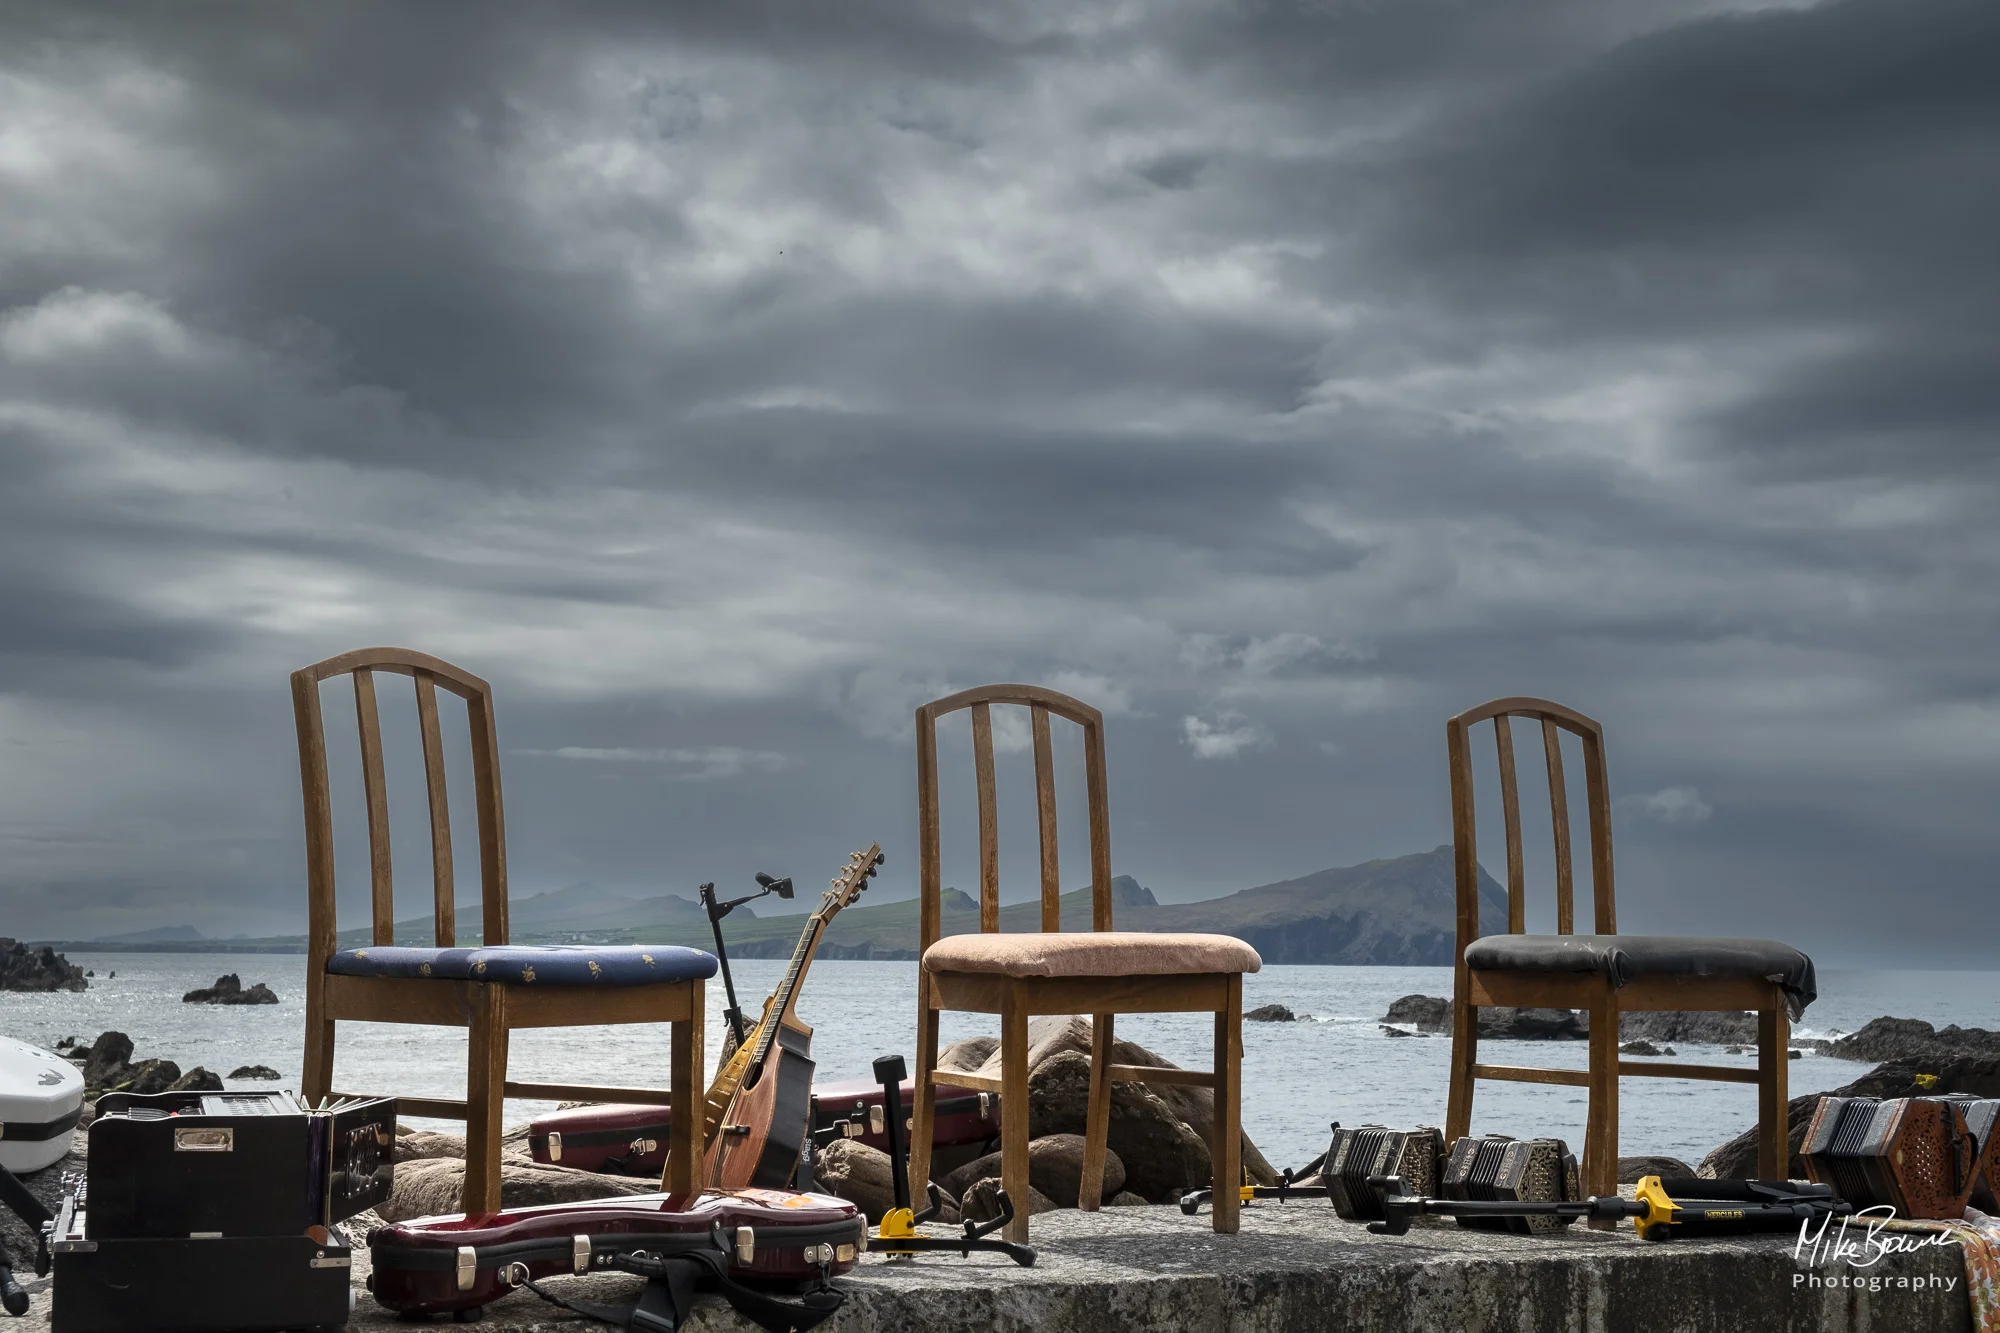
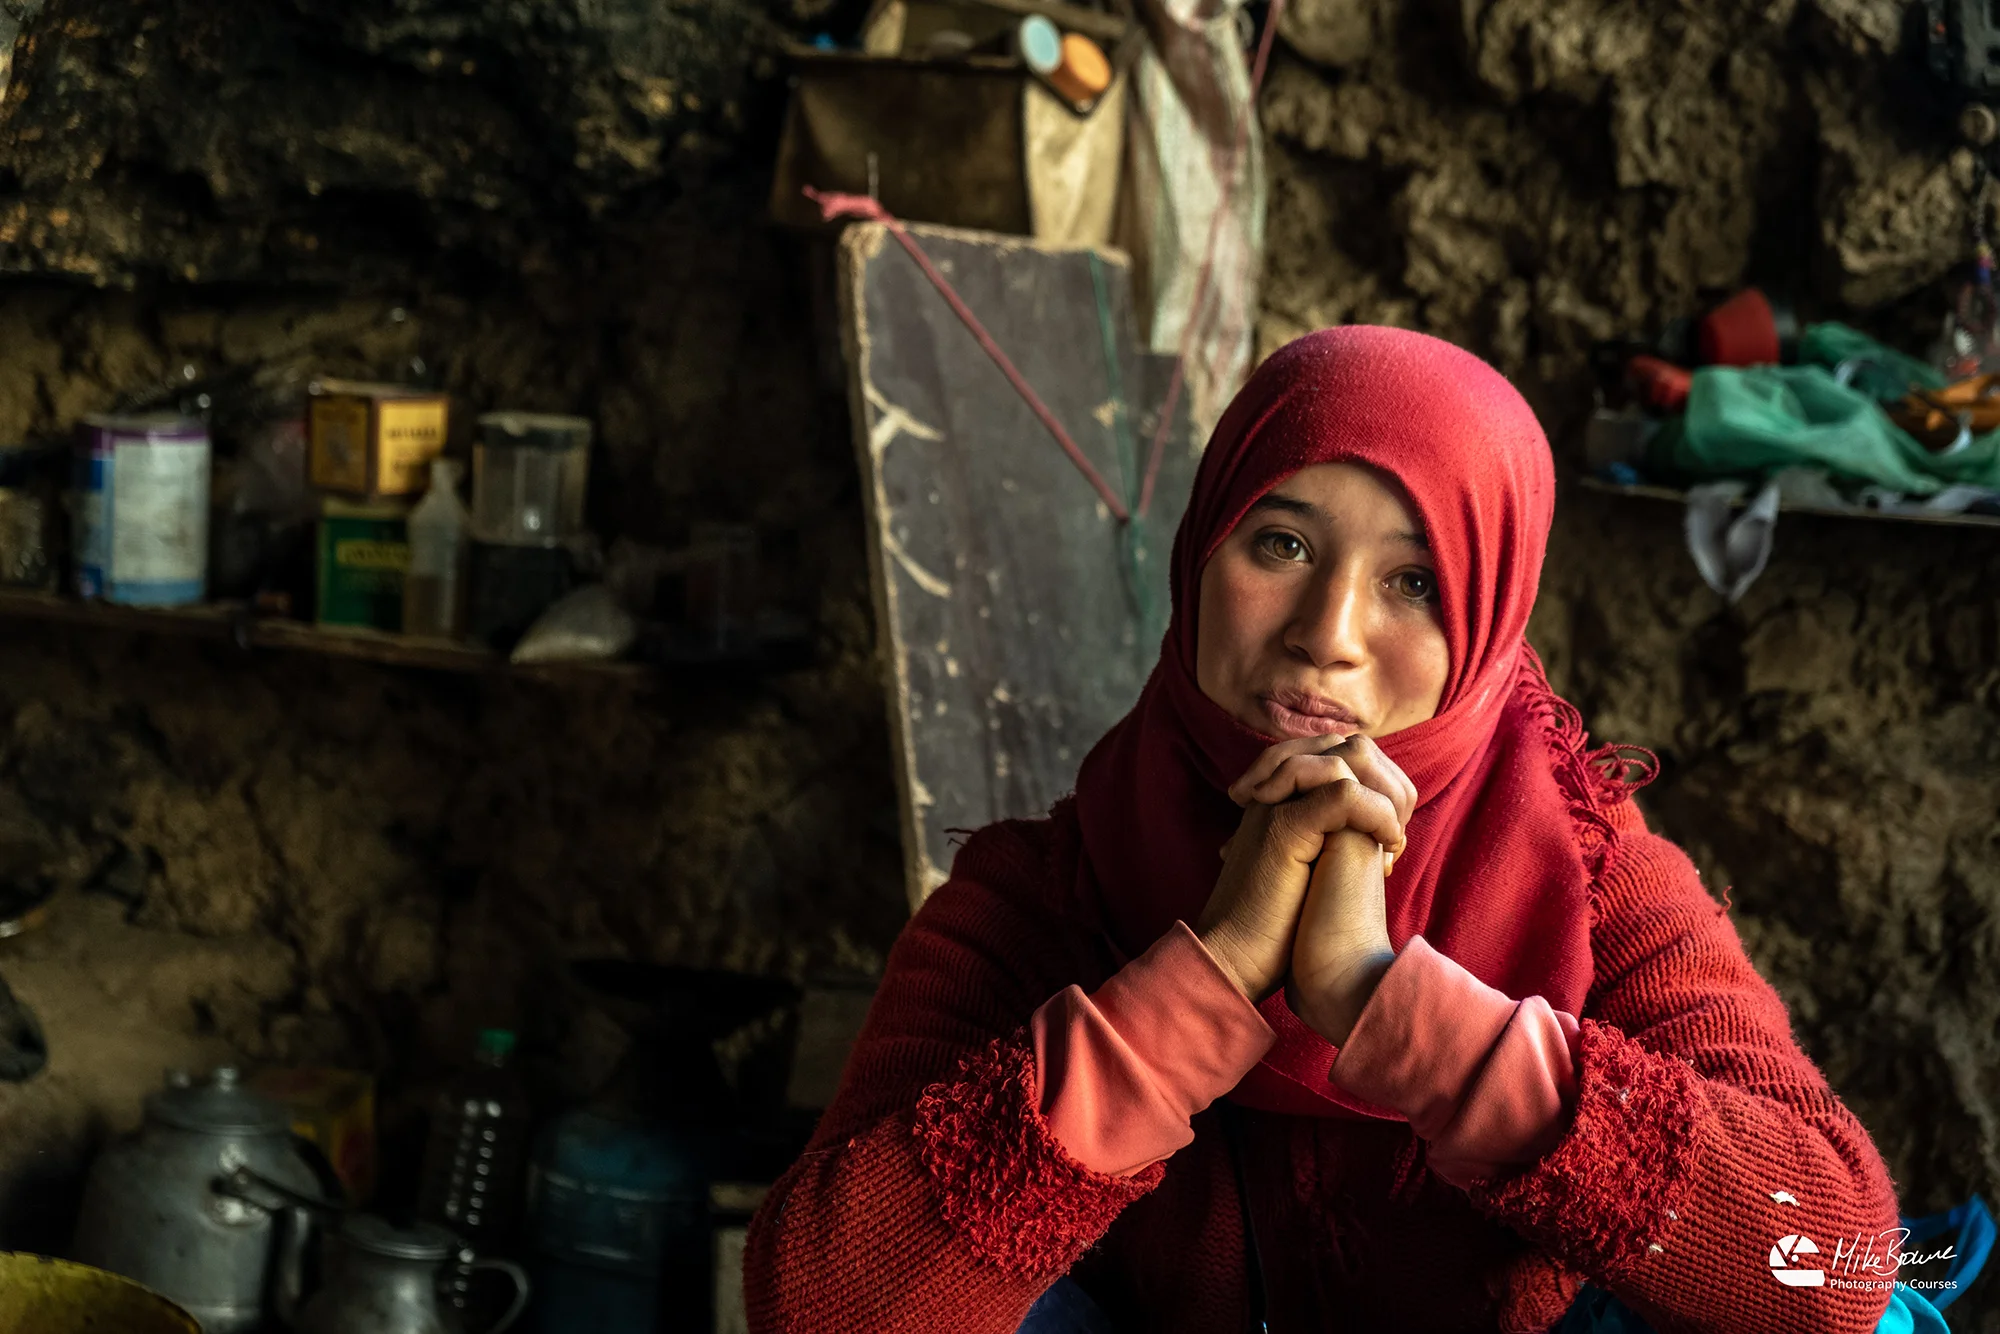
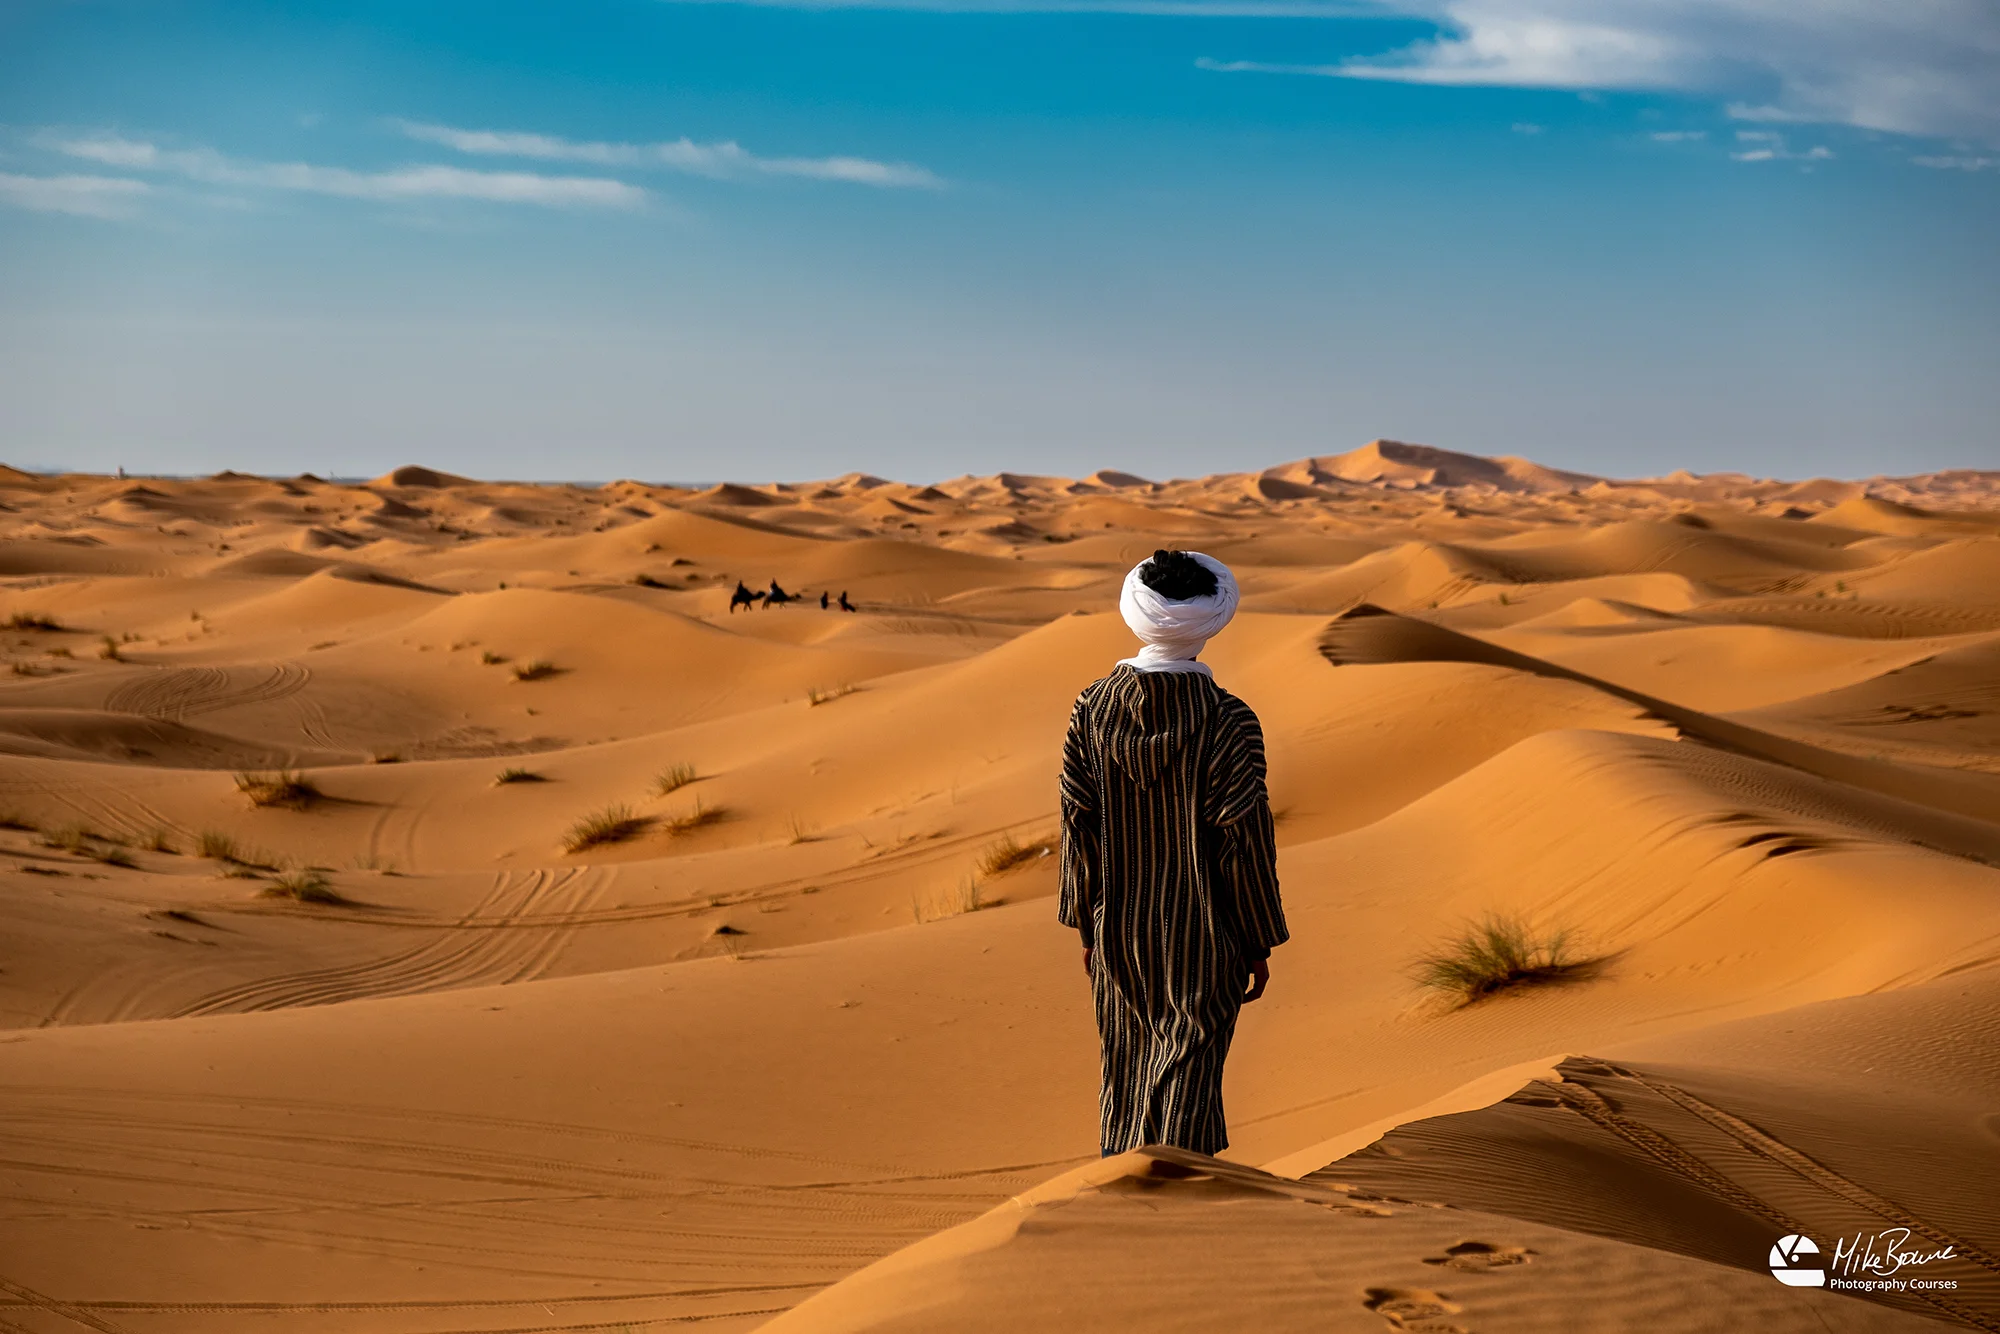
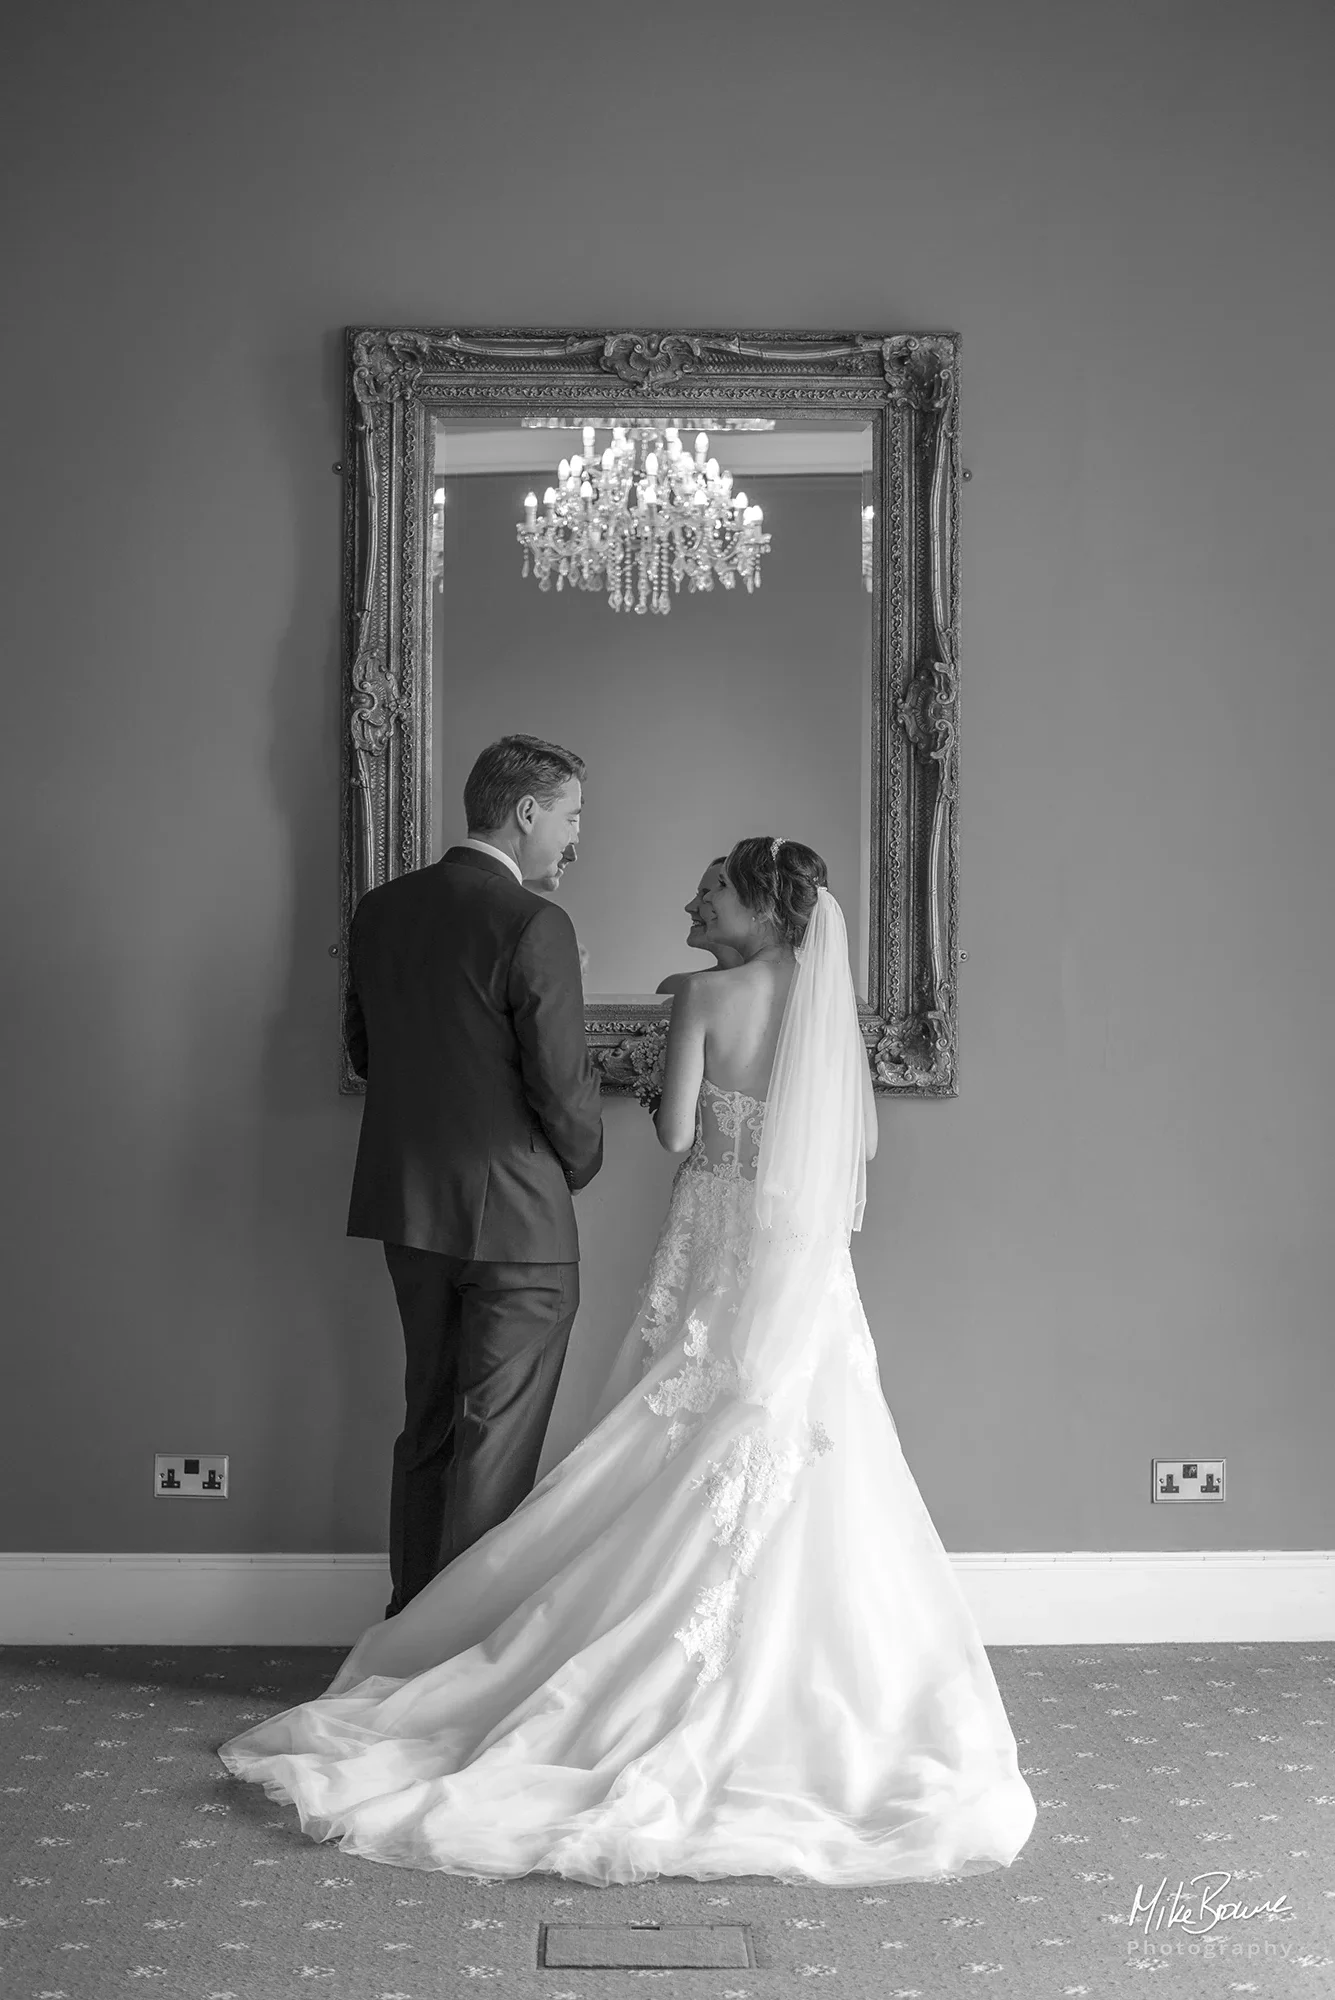
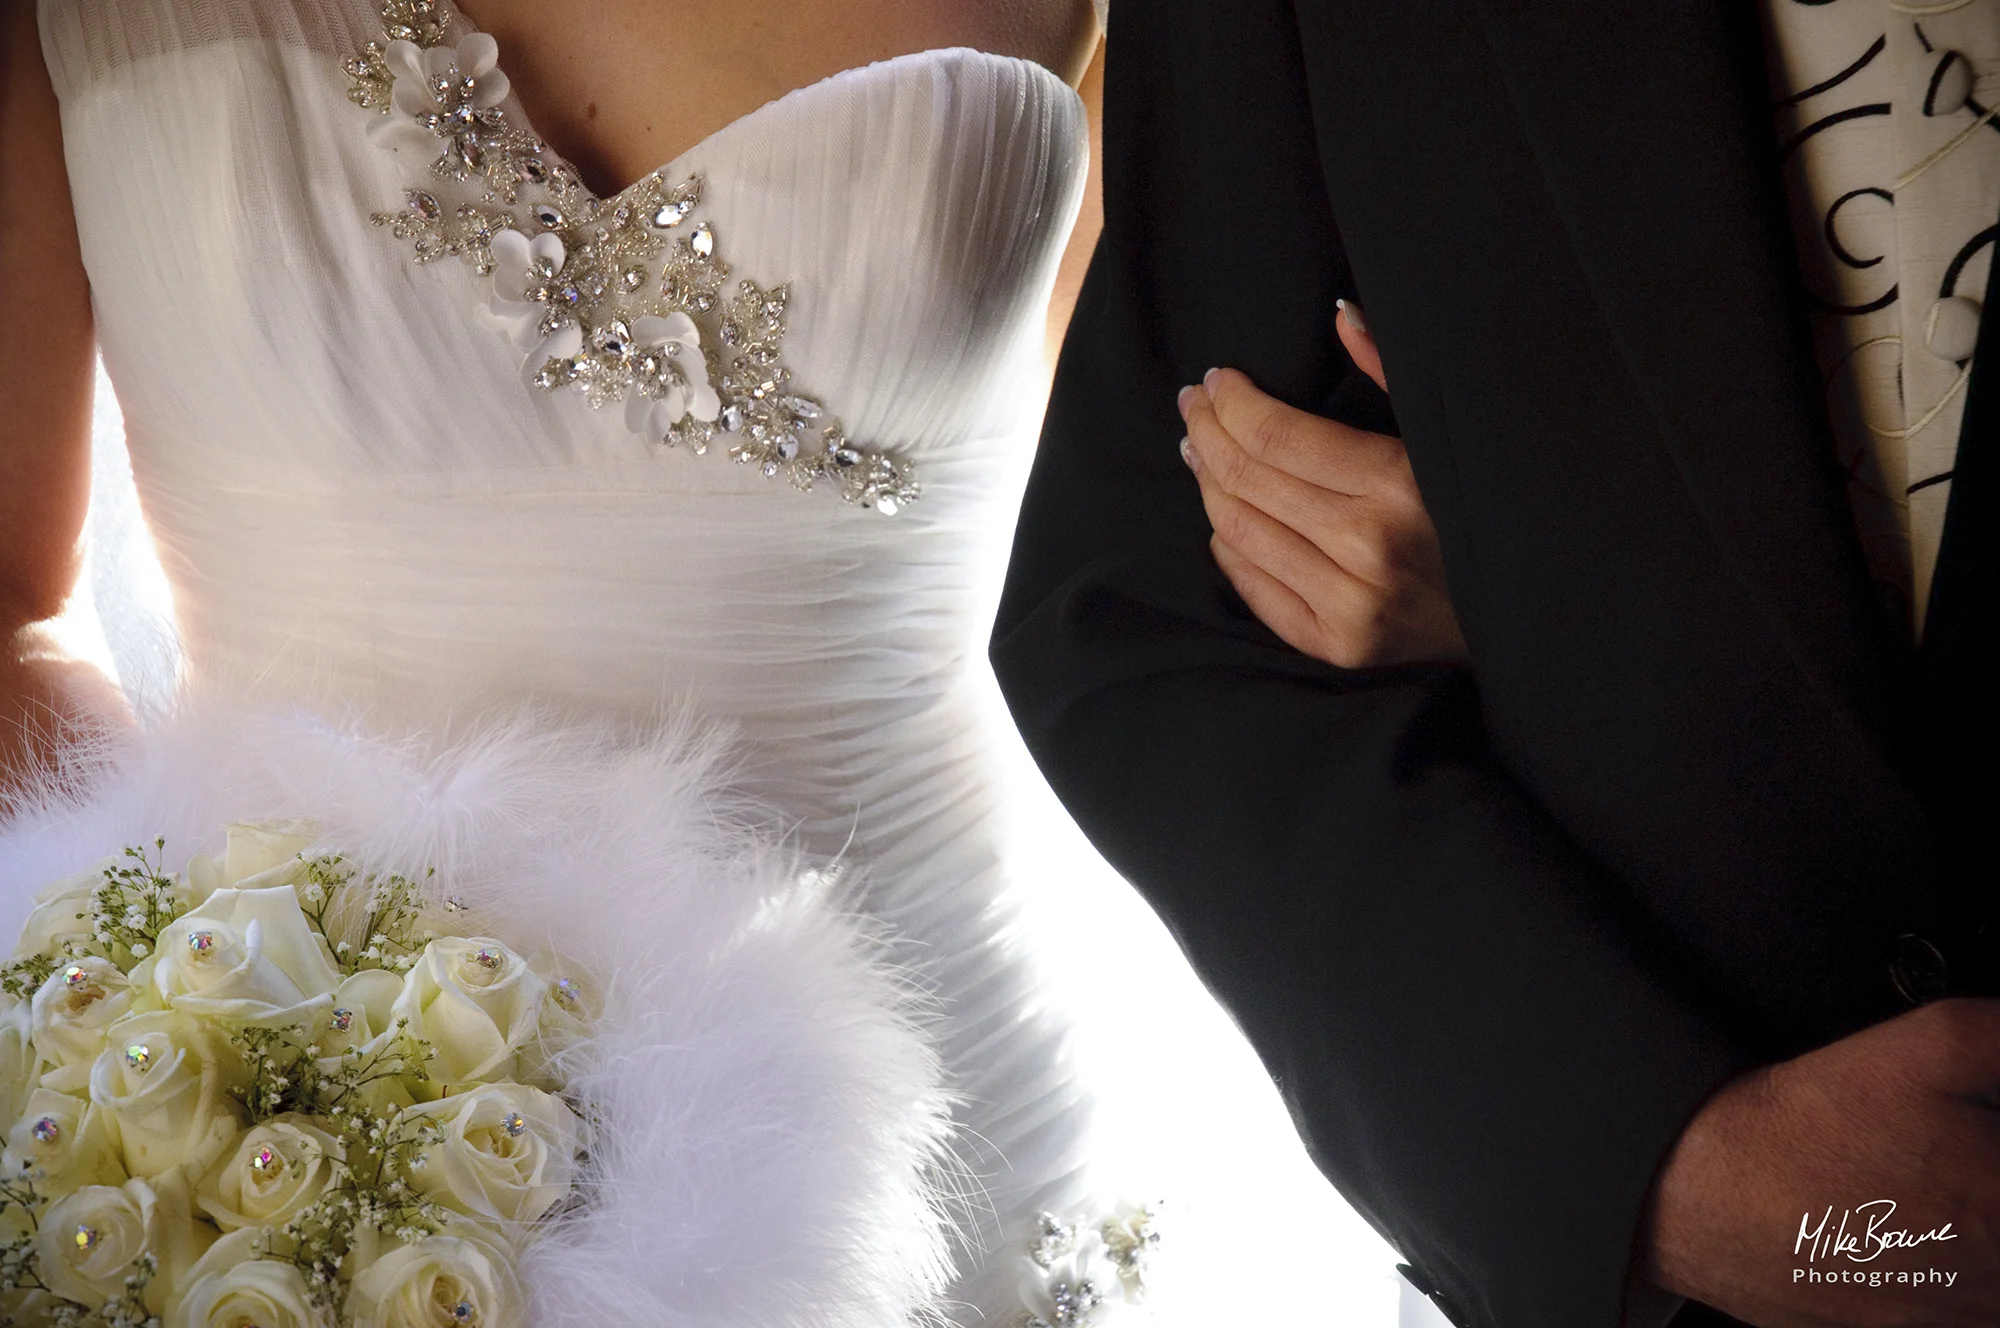
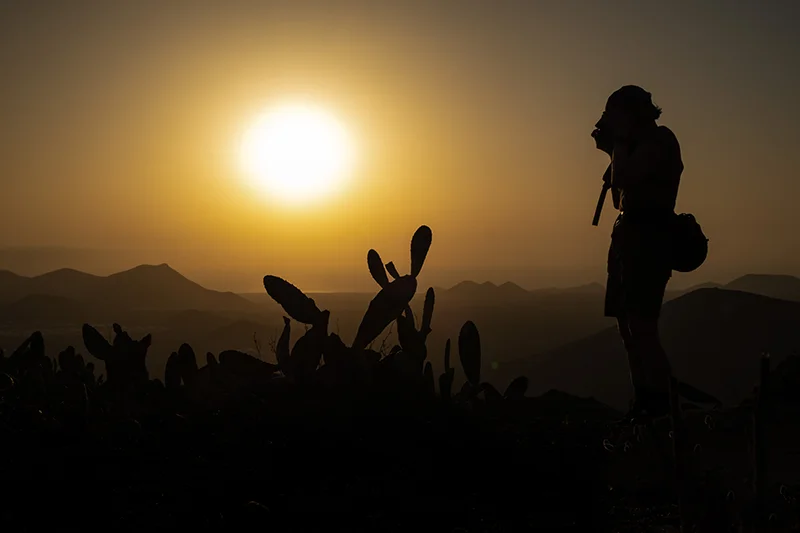
PS: These are all 18-55mm 'kit lens' images.
