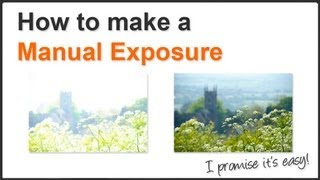
HDR Exposure Bracketing

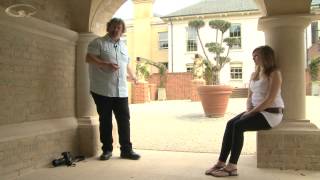
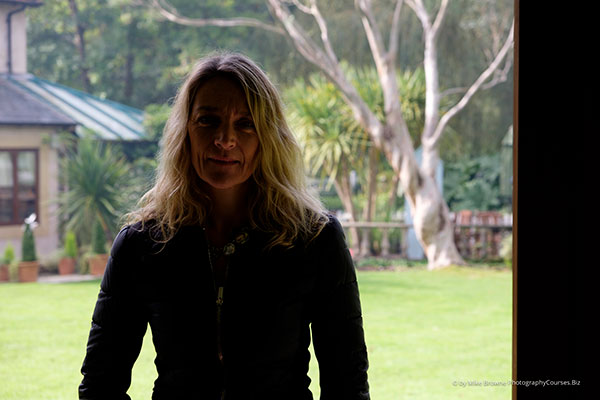
HDR is short for high - dynamic - range which is what our eyes have. Cameras can’t match them when it comes to seeing details in both the darkest and brightest areas. Have you ever shot a photo of someone or something with a window behind? Chances are you got a silhouette something like the one of my friend Rosie below - unless you know what you’re doing and added fill lighting one way or another…
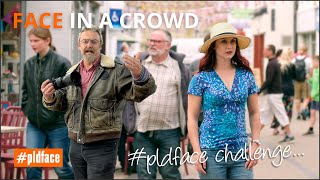
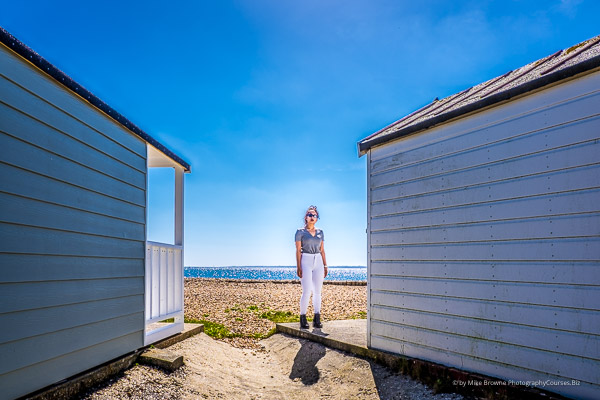
Now, before we go further there are two interpretations of HDR. There’s the hyper real super saturated ‘HDR Look” like the one of the girl below. But I want to talk to you about using HDR photography to get a natural looking image that’s in line with how our eyes see things.
Why do eyes see more than cameras?
Actually we see with our brains. Our eyes capture light which passes through the iris (like your camera’s aperture) and onto the retina which is a thin photosensitive tissue which converts the light into electrical signals (like your camera sensor) which are through the optic nerve to our brains.
As we look around and peer into darker or brighter areas our eyes our irises open and close as needed to help control the amount of light entering our eyes (the exposure) and our Brilliant Brain (like your processor) kind of maps it all together for us as one nice stable image and so we have a great dynamic range.
And this is the super simplified version! Our poor old camera has only one chance to get light up it’s lens, how much hits the sensor is controlled with aperture, shutter speed and ISO. The sensor captures this one bite of light and makes of it what it can by trying to even out the brightest and darkest areas.
In most cases they do a wonderful job, but when the difference between brightest and darkest areas exceeds about 3 or 4 stops they can’t capture both. We on the other hand can generally manage 6 or 7 stops difference. The difference is called dynamic rage.
So what can we do about it?
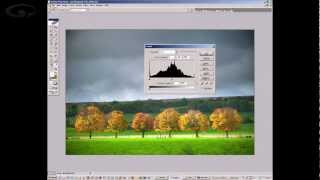
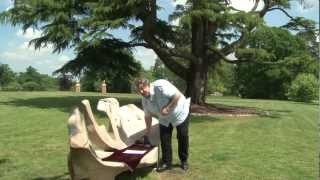
This is where a technique called exposure bracketing comes into play. By quickly taking several exposures that cater for the brightest and darkest areas of a shot wa can cover the entire dynamic rage of a scene. Then blend the exposures together in Lightroom (or similar) using the best highlight detail from one and shadow detail of another as an HDR photomerge.
The place to begin is at the time of capture by carefully assessing whether or not the dynamic range is within your camera’s capabilities. Some cameras have greater dynamic range than others and the only way to find out what yours can cope with is to test it and see.
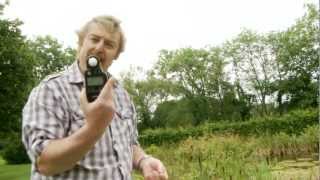
- Place something in front of a bright window
- Shoot 5 bracketed exposures -2 > -1 > ‘correct’ > +1 > +2
- Check which has the most detail inside and outside
Shoot RAW for this test so the images are untouched and exactly the way the camera captured them. If you shoot jpegs the camera will have retouched them to match your picture control settings when it made the jpeg.
Lightroom retouching or whatever you choose to call it, isn’t about fixing bad images - or over doing them either. Shooting HDR is a gateway to making natural looking images that are beyond the capabilities of our cameras to reach in one go.