How to fix bright highlights and dark shadows in Lightroom
This amazing image of a bird flying through the gap in a barn was taken by Will Thommpson-Coon on his Devon farm and it has been featured in the Olympus online magazine.
Will came on a 1:1 photo training day with me and brought it along asking the question. "How could I get more detail into the highlights and shadows when I processed the RAW file?"
Cameras don't see the world the same way we do - and I can prove it. Have you ever taken a photo of something, looked in the back of the camera and thought - That's not how it looks?
It's because our eyes constantly scan, the pupils of our eyes dilate and our brains map all the images together into a kind of HDR image so we can make sense of the world around us.
But the camera can only take one bite, one image and if you don't give it a helping hand in post production you won't be able to get high contrast images highlight and shadow details looking the way we see them ourselves.
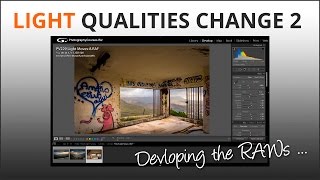
With this kind of image about the only way to do it is shooting RAW files which hold way more data than a Jpg and then adjusting the image in post production with a RAW file processor like Adobe Lightroom.
Why not shoot and HDR? HDR's are OK of nothing's moving so you can capture multiple but different exposures which can be mapped together into one image. But a bird in flight is moving much too fast even with high speed burst mode and auto exposure bracketing. So none of the images will match making it impossible to make an HDR.
So I promised Will I'd ask my friend Serge Ramelli who is a Pixel Wizard Extraordinaire what he'd do to bring out more details in the light and dark areas of the image.
If you don't know Serge he's a lovely guy and a great teacher. Please subscribe to the Serge Ramelli YouTube channel and check out the awesome courses on his website - PhotoSerge.Com.


