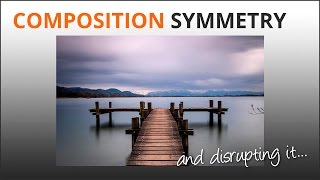
Composition Practise Fog

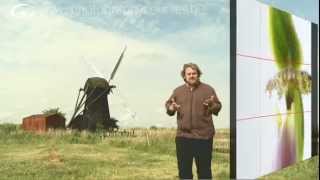
You wake up, look out of the window, it’s dull and foggy so you roll over and go back to sleep. When you could instead be practising your photography. Many people don’t realise that composition, light, apertures, shutter speed, ISO focal length, depth of field and all that other good stuff needs to be practised – and you can do that anywhere.
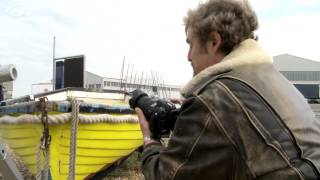
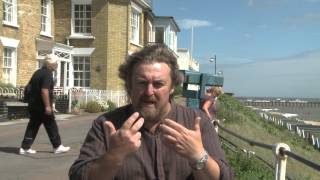
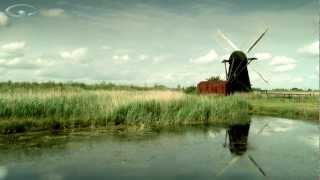
If you put some additional effort into it such as going to a lake or forest, face towards the rising sun and wait for it to start burning through you can get some stunning images. In this video I just went for a quick walk around a short stretch of my home town so the images aren’t likely to win awards, but it’s all good practise using both the camera the controls and your creativity.
You have to develop a kind of photo radar like a sixth sense that alerts you to the presence of potential images. But how do we do that? Practise. Instead of going out shooting with a group go alone. When we’re in a group it’s all to easy to chat and have fun, instead of looking all around us.
Especially don’t try this when you’re in a hurry (as I was) or with people who are not into photography. They won’t understand why you need to spend time concentrating and you’ll fell under pressure.
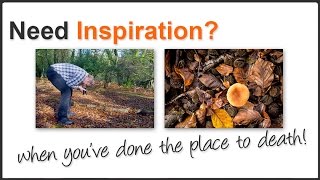
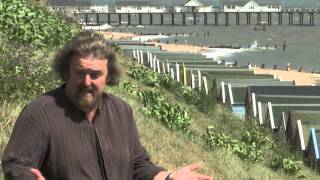
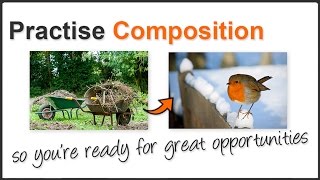
This is about taking photos in situations that are less than perfect and finding ways to maximise on them. Great locations aren’t necessarily going to deliver great photos.
What if you’re on a tour at the Taj Mahal and have a 2 hours before the guide calls everyone back to the bus and it’s raining / cloudy / foggy? You have to make the most of it. Find the best compositions you can, think up ways to use the fog / rain / cloud to your advantage. That’s going to take all your observational and photography skills and you can’t do that if you’re stuck working out how to make the exposure or what ISO to use.
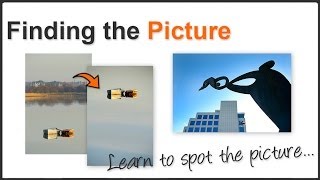
It’s all too easy to take a rubbish photo of a stunning location if you don’t ‘connect’ your camera through your eyes to your surroundings. Here are a few tips on the abilities you need.
- Know what controls do
- How to control them
- How to combine them
- Use your eyes and look around you
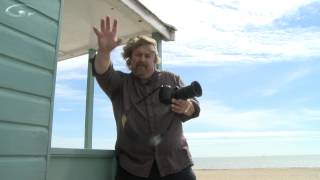
- Don’t be self-conscious because there are people about
- Watch what the light is doing
- Shoot according to light qualities – not quantity
And don’t forget, just because your camera’s light meter says the exposure is correct doesn’t mean it is. You only learn how and when to over-rule it through experience.
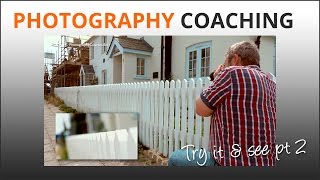
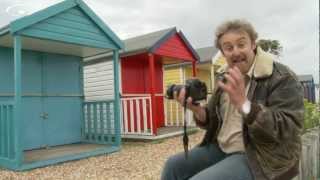
Try changing things between shots. Focus in a different place, change the depth of field and see what it looks like. If the shot doesn’t work delete it. The shot costs you nothing. Not trying stuff out costs you everything.
When you watch this video notice the steps I take. How I try a different depth of field and have to change the ISO to allow me to do it and get a fast enough shutter speed to make sure the image is sharp.
Camera controls don’t work in isolation; they have a knock on effect on each other, which you have to control for both technical and creative reasons. You must think like a photographer.
If you don’t know what the controls are and do, you need the Masterclass in Photography to get going fast with just what you need now explained in simple jargon free steps.
Products in this Category


| Scene in a scene |
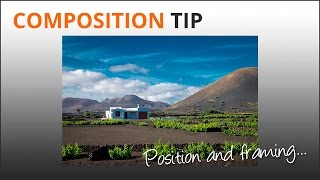

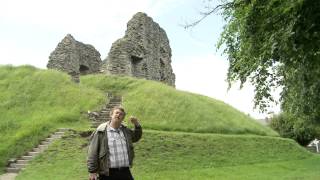
 Landscape photography is one of those areas where patience, thinking it through and taking your time pays dividends. We have all seen a scene we want to capture but sadly we’re in a hurry, so we leap out the car and just grab a shot without giving it too much thought.
This may or may not result in a great shot. But have you thought to ask yourself if there’s more to be had from a location than the obvious? You have to build upon an initial idea. Explore possibilities.
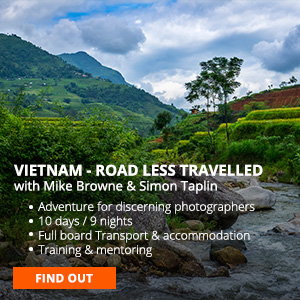
I was in Vietnam driving through the mountains when we came upon this amazing view of rice terraces. We stopped so the film crew could shoot some aerial shots with their drone so Simon and I took the opportunity to look around and shoot this video.
As we drove up the hill I’d noticed one of the little paths that wind their way through the paddies so we went for a walk to see what it would yield.
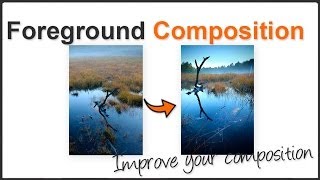
Almost straight away we came upon some greenery we could use as foreground, which can frame a scene and give it more depth. In some cases just finding a bit of foreground can make or break an image.
But don’t forget to look around you. It’s all to easy to miss a beautiful detail of the landscape that’s right next to you because you’re absorbed by what’s in front.
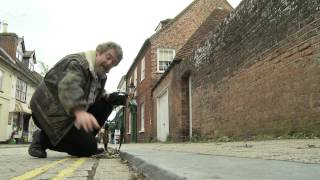
You have to concentrate and really look at a scene. In the first shot of the last scenario there’s a stick poking up on the left. I didn’t really notice it to begin with. It wasn’t until I checked the shot in the LCD it became apparent.
So how do we remove it? Well obviously there’s Photoshop but I’m lazy. A few steps to the side will change the geometry of the image. It makes things align differently so you can lose unwanted clutter from the composition.
So besides making sure the light is appropriate for the scene, here are 3 landscape photography tips to consider.
- Take time – think of other possibilities for the location
- Find some foreground. It could make a world of difference
- Look to the side as well as in front. You might have missed something
These things are not functions of your camera. They are functions of you thinking like a photographer.