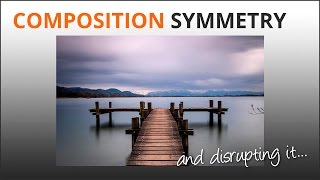
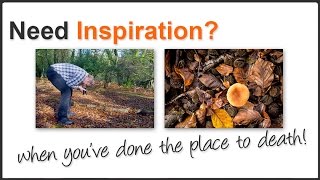
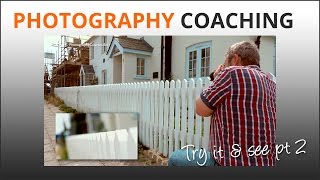
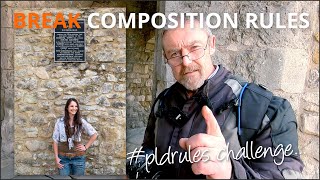
Compostion Problems

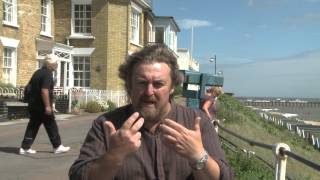
The challenge was Let’s Face It. I chose two ways to interpret #pldface and despite many hours of work shooting and revisiting locations in different light at different times, neither worked as well as I’d hoped. This happens a lot in photography, so get used to it.
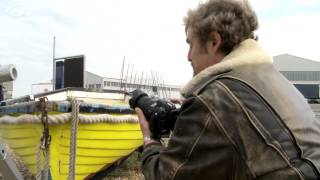
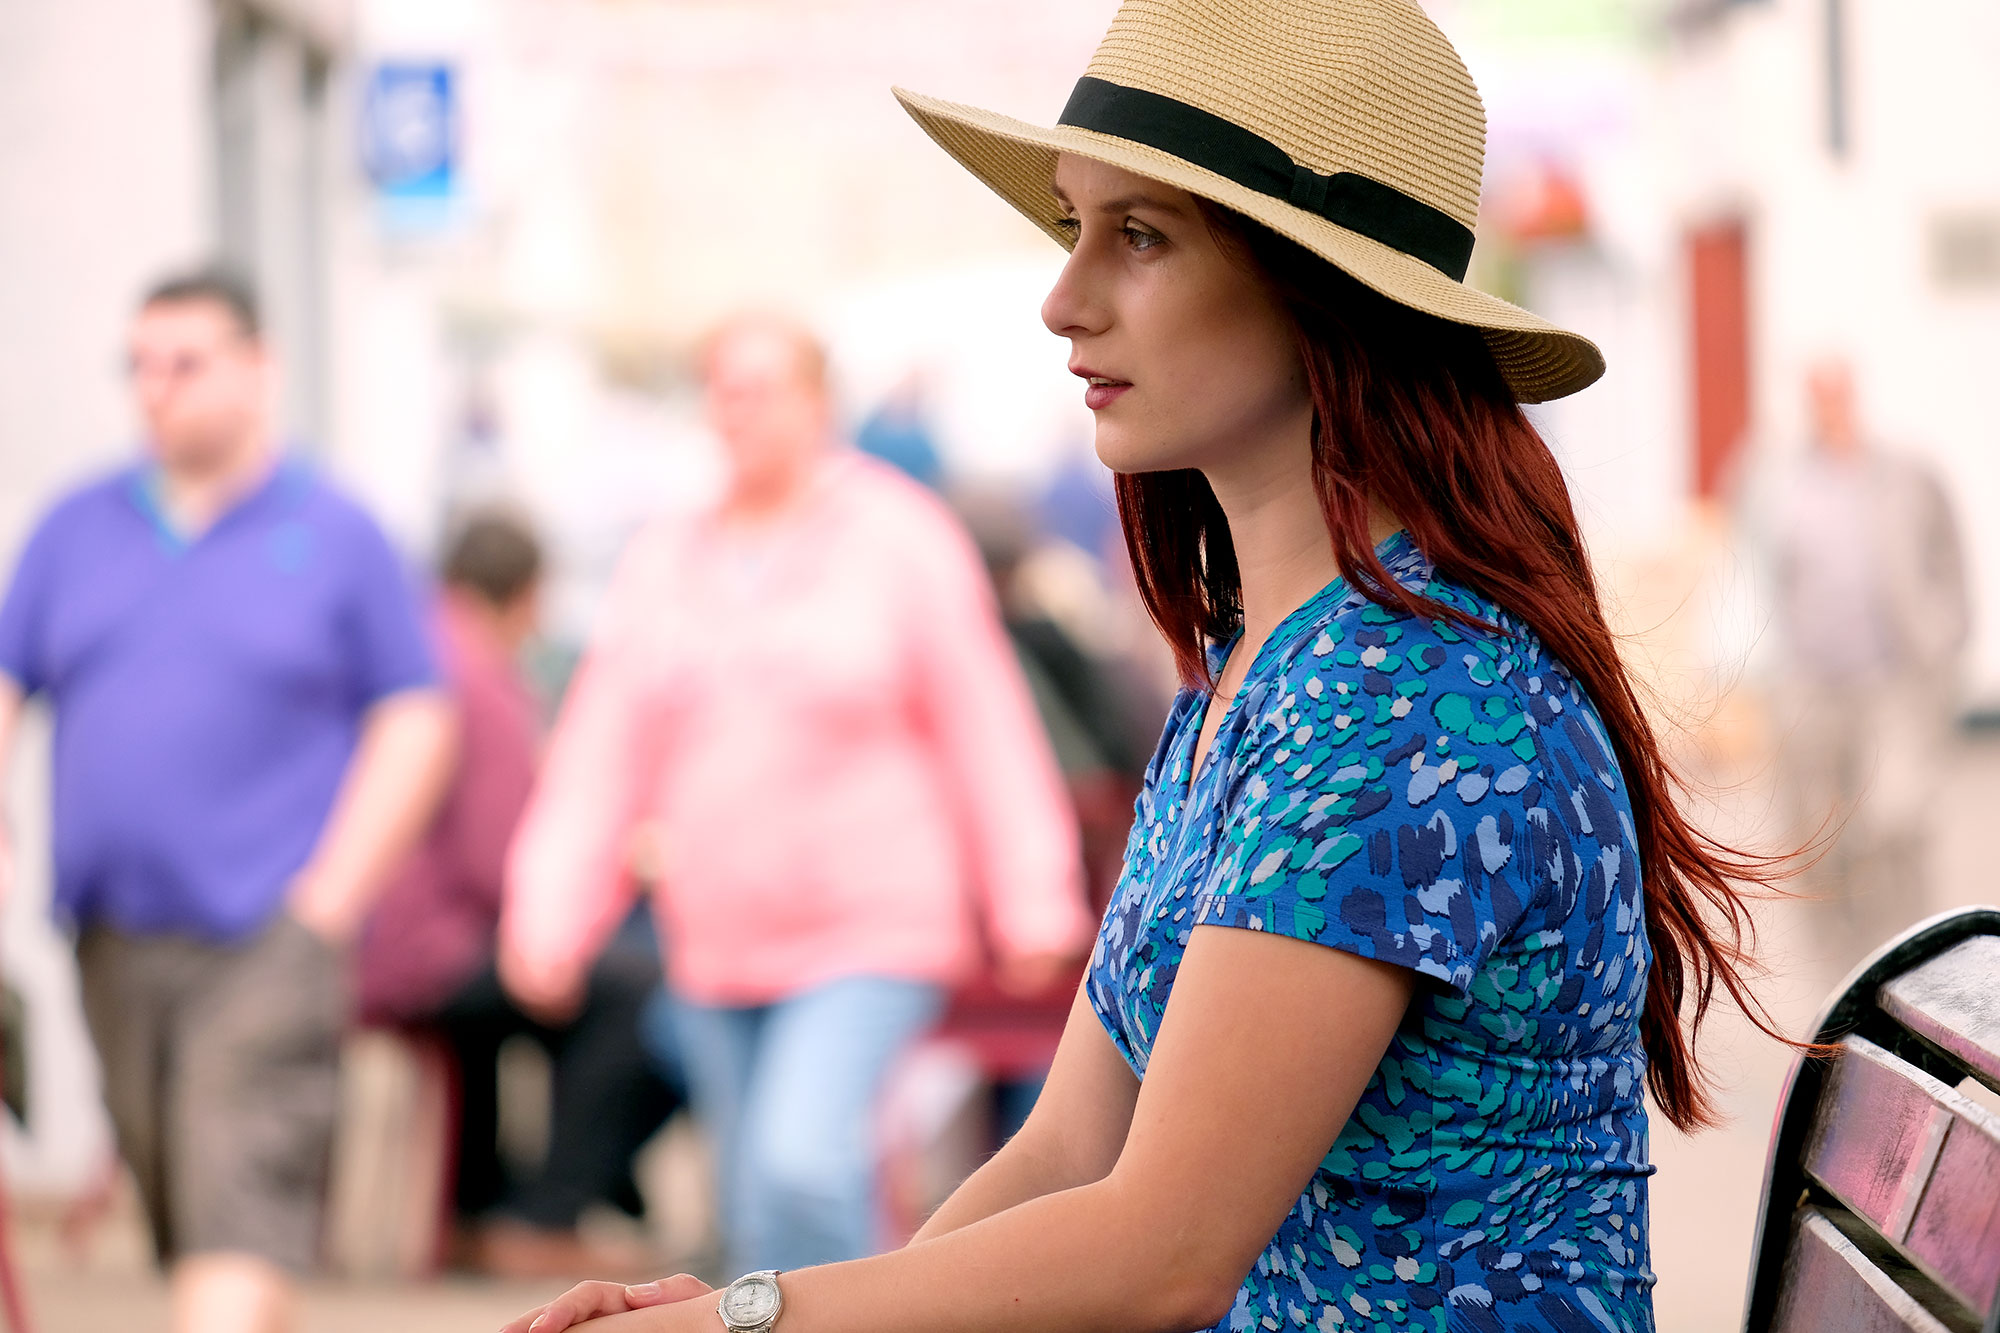
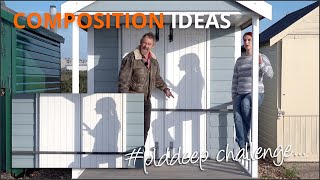
My first idea for an interpretation was ‘Face In A Crowd’ so I arranged a date and time to meet our model Steph Rebello in an attractive, pedestrianised main street and booked cameraman Joe to come and film it. We chose lunch time on a weekday because we figured people would be about getting lunch at the bakeries and cafes.
When we got there a few folks were about and I figured it’d be a great opportunity to use a long lens with shallow depth of field to isolate Steph amongst them. Maybe try getting Steph to keep dead still and a slow shutter speed to add movement blur to them. Should work well.
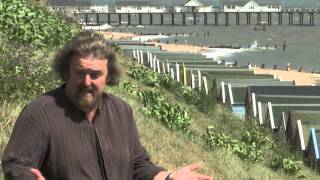
But, in the ten mins it took to get cameras set up, find the best angle to shoot, look at light etc, about 50% of them disappeared! What do you do? Well ideally you sit around and after a while they come back. So we waited around for half an hour, tried a few experimental shoots (with video) but none were what I wanted. Here’s a shot from one of those shoots we didn’t use…
Steph had to go and as the place got more and more deserted we decided to go look at option 2 - ‘Clock Face’.
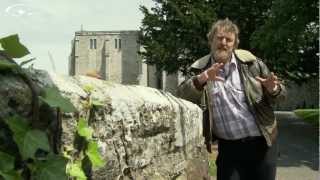
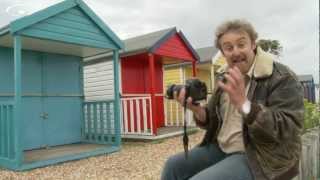
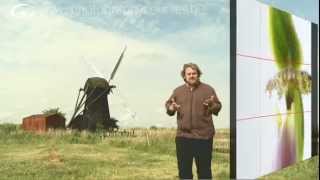
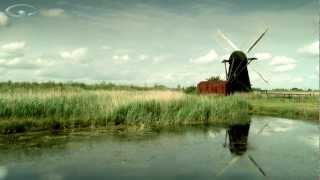
I’d seen the church clock in my home town lit up at night and it looked great. My thinking was to shoot it at sunset or twilight so we’d have an interesting background to contrast against and make it really stand out. Joe and I drove back, parked up and spent about 20 minutes getting set up, checking sound, finding good angles, choices about focal length and how to frame the shot, as photographers do.
As the light faded a bank of light cloud began to spread across the horizon - and beyond. OK so sunset’s unlikely, but we might get some deep blue twilight if we hang on an hour or so. Thirty minutes later it didn’t light up and as the sunset changed to twilight and street lights came on - the clock face didn’t light up some more!
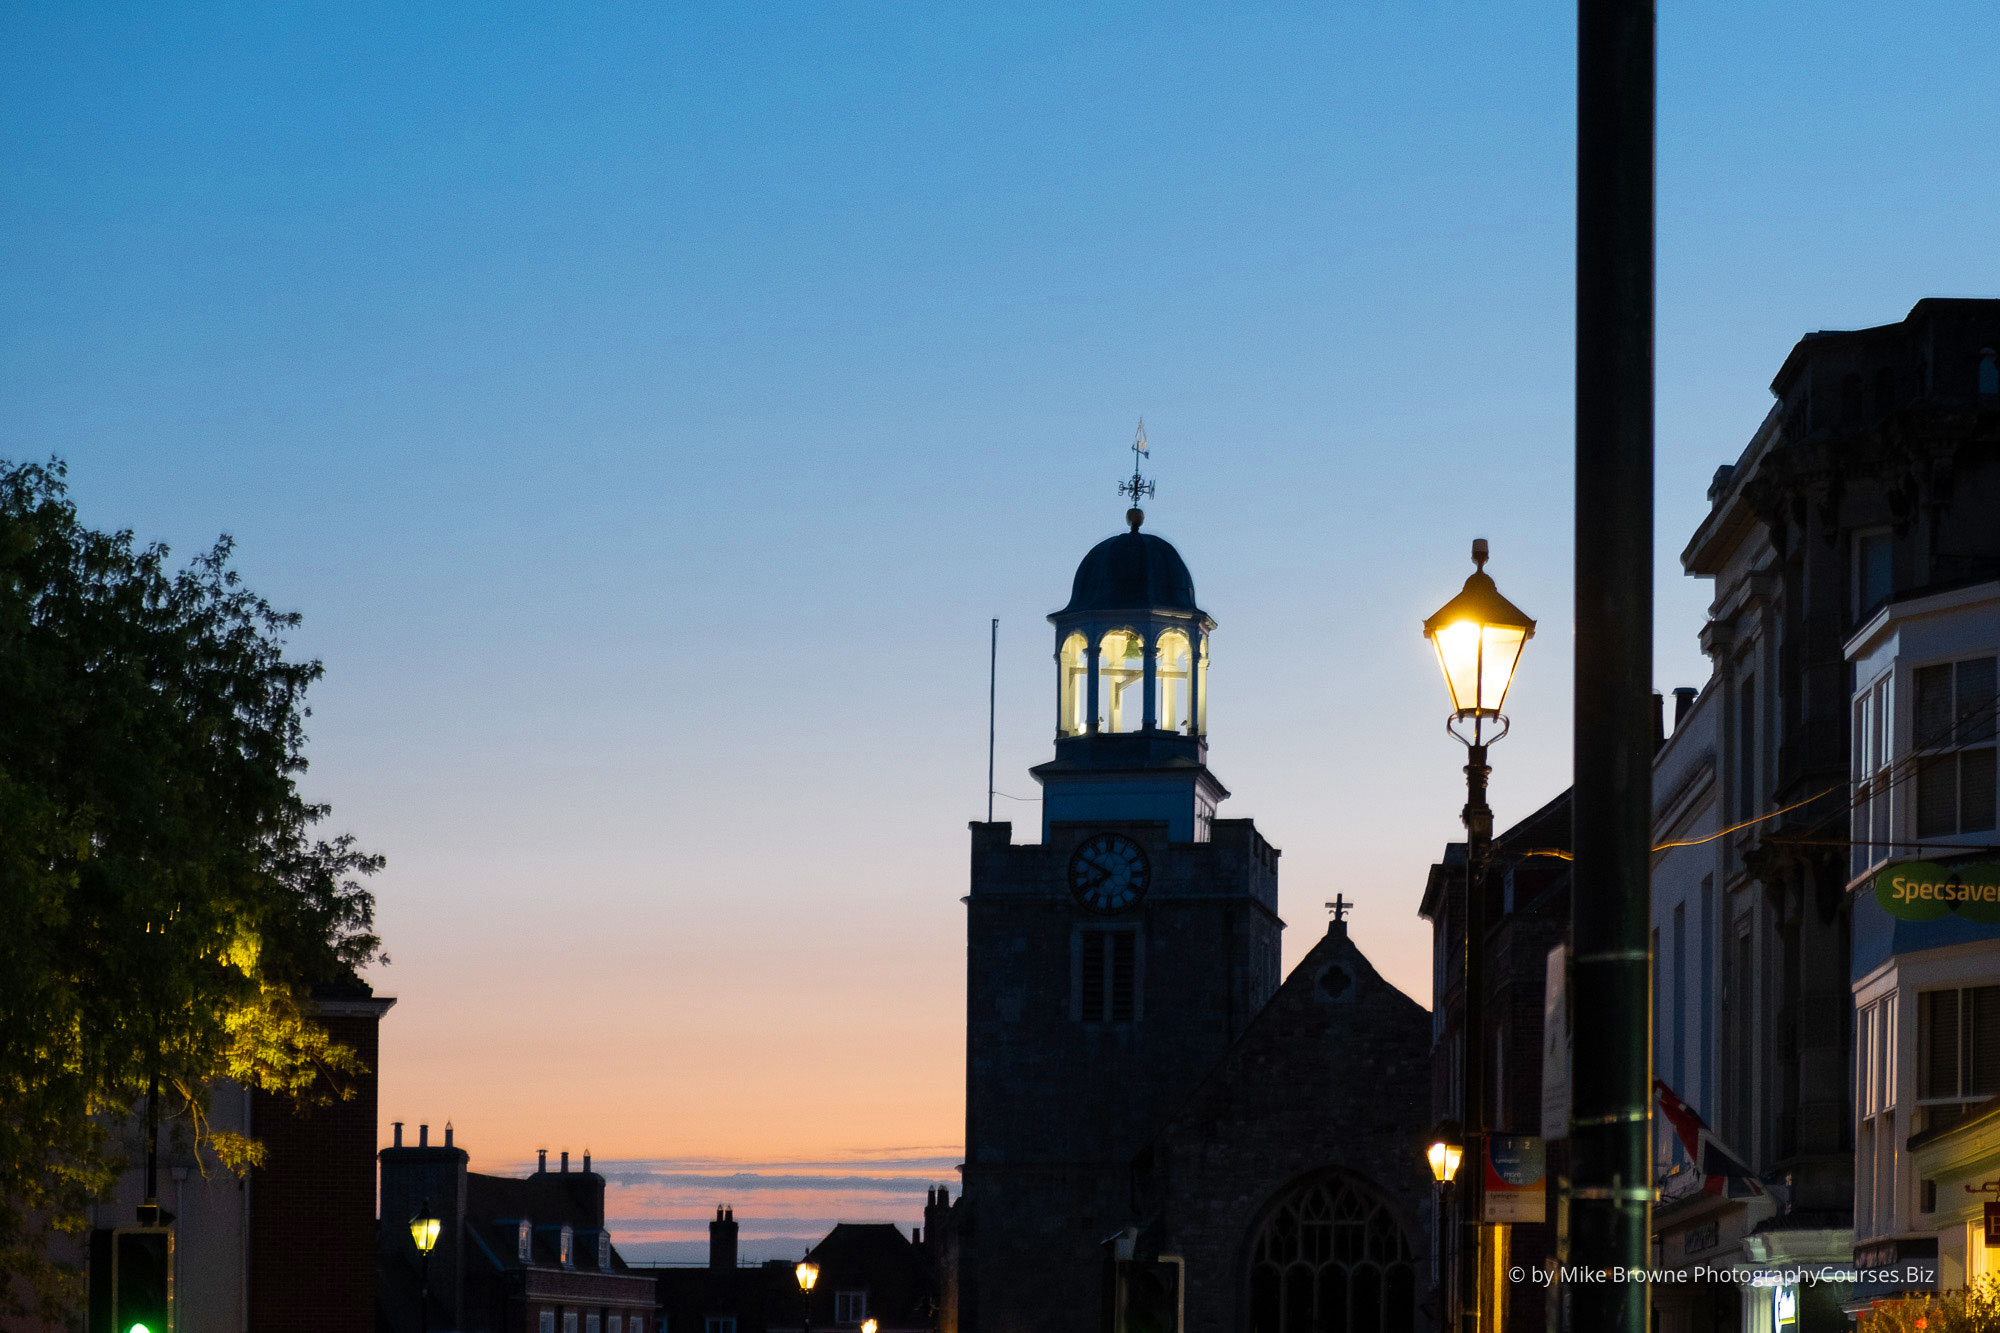
Three and a half hours from leaving Steph, to deciding to abandon the idea with no useful images - or video!
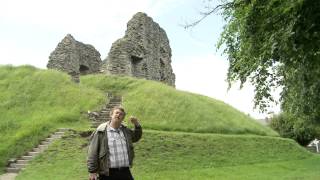
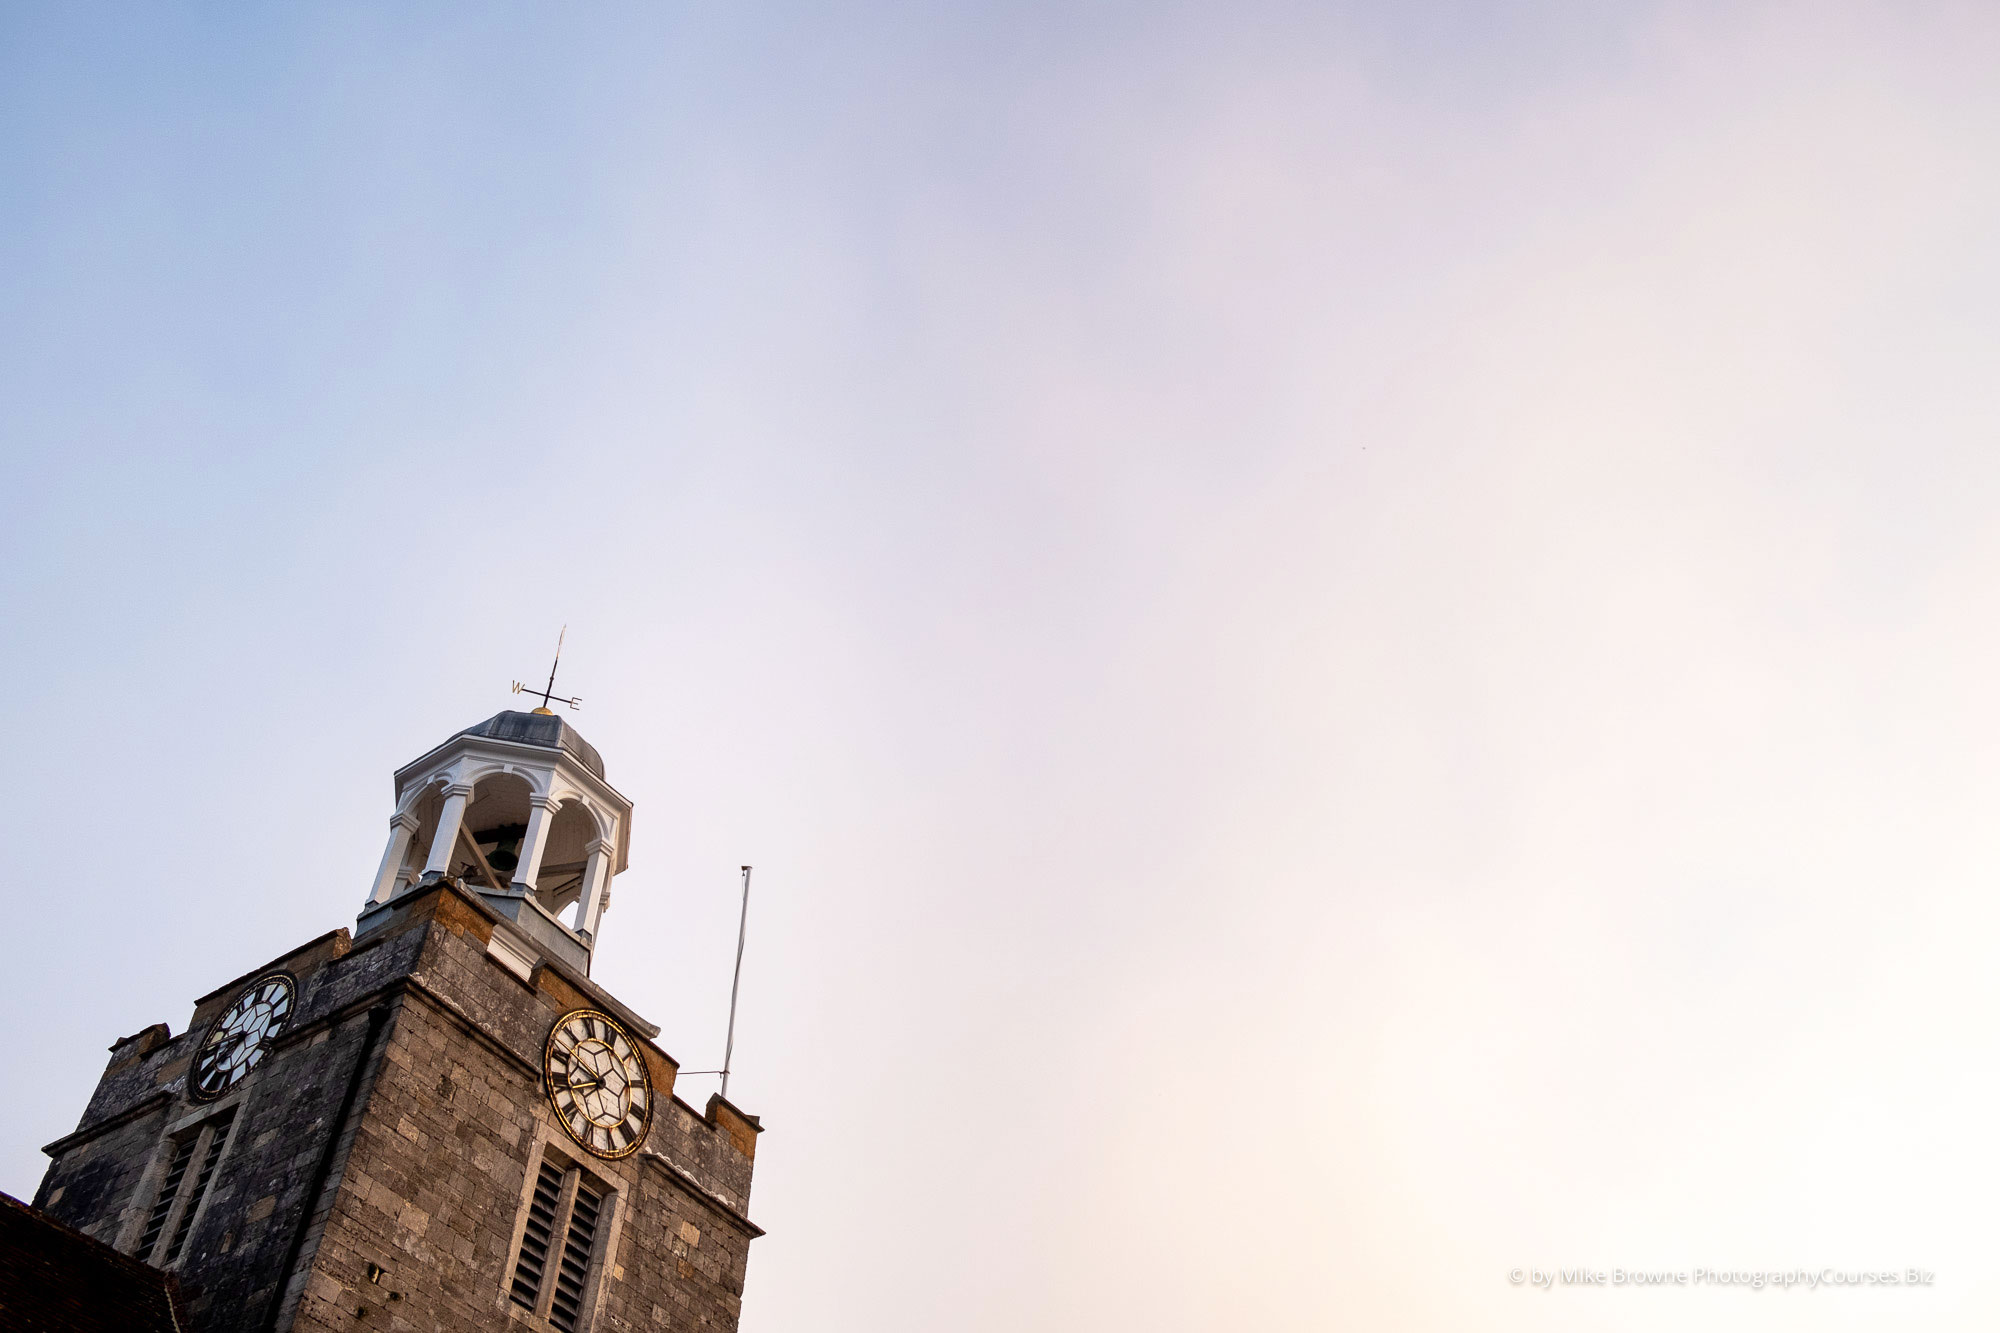
The sun sets behind the church so the sun rises in front of it. What if it was shot as the sun came up over the town and lit up the clock? What if there were a few clouds in the sky behind it that would reflect a pinky glow as it did? (These are the kind of questions photographers must ask themselves to pre-visualise and make a plan.) Yep - could work.
A couple of days later the weather forecast looked promising so I went into town at 6am to have a look and make a few test shots to help find what would work best and got a clear sky behind and colourless sunrise behind. The rest you saw in the video. If you look carefully at the line of light creeping down the clock tower as the video progresses, you might get an idea of how long I was there. You must be patient and give every opportunity a chance.
Was it all a waste of time? No of course not because I learnt things about my local clock tower I didn’t know a few days earlier.
- The clock doesn’t light up every night. Maybe they save it for special occasions, or maybe it’s just broken
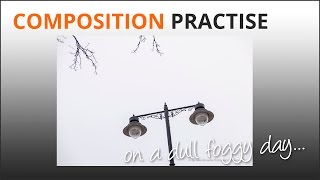
- There are many more interesting compositions to shoot than I’d first thought
- The light would work at both ends of the day, not just in the evening
- Given the right weather and light conditions I could easily go back and the shoot would be easy
- A low angled early morning shot from the side on a day with sunny intervals and storm clouds would be awesome
Imagine this with strong, low angled sunlight sliding in beneath dark moody clouds and striking the tower from the right…
Time spent shooting is never wasted. You will have to invest a lot of it as I did. These few images represent a long day’s work and still didn’t yield what I wanted. Ii did however give something I needed. New knowledge of a location, the weather conditions and light needed to make it rock. That’s banked now and when we get a stormy day, I know where to go and how to shoot it.
If you want to be a good photographer, you must not view these things as something bad or disappointing or a waste of time. Everything we do be it photography or anything else, has a cost attached which usually presents itself as problems to solve.
If you don’t choose to see these problems as a challenge which will be rewarding in the long term you’ll rarely be happy with your photography. You’ll take home hundreds of rather dull photos and hope you might be able to do something with them in post. Which results in images which look ‘photoshopped’ and over done.
First you must be able to see and control light and composition and control your camera so it does what you want. This is beginner stuff, all of it. Mastering these is like passing your driving test. You’ll get from one place to another without crashing, but if you want to do it with style and panache and maybe do a rally or track day, you have to overcome the problems associated with that by learning more.
If you want to pass your photography driving test, complete and practise everything in my Masterclass in Photography. When you’ve done that you can develop style and panache in your photography with my 7 Building Blocks Of Photography.
Hope that helped…

Products in this Category


| Scene in a scene |

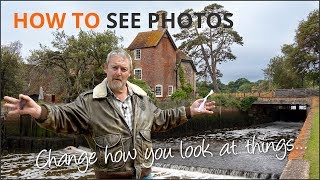
 Landscape photography is one of those areas where patience, thinking it through and taking your time pays dividends. We have all seen a scene we want to capture but sadly we’re in a hurry, so we leap out the car and just grab a shot without giving it too much thought.
This may or may not result in a great shot. But have you thought to ask yourself if there’s more to be had from a location than the obvious? You have to build upon an initial idea. Explore possibilities.
I was in Vietnam driving through the mountains when we came upon this amazing view of rice terraces. We stopped so the film crew could shoot some aerial shots with their drone so Simon and I took the opportunity to look around and shoot this video.
As we drove up the hill I’d noticed one of the little paths that wind their way through the paddies so we went for a walk to see what it would yield.
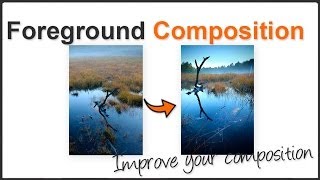
Almost straight away we came upon some greenery we could use as foreground, which can frame a scene and give it more depth. In some cases just finding a bit of foreground can make or break an image.
But don’t forget to look around you. It’s all to easy to miss a beautiful detail of the landscape that’s right next to you because you’re absorbed by what’s in front.
You have to concentrate and really look at a scene. In the first shot of the last scenario there’s a stick poking up on the left. I didn’t really notice it to begin with. It wasn’t until I checked the shot in the LCD it became apparent.
So how do we remove it? Well obviously there’s Photoshop but I’m lazy. A few steps to the side will change the geometry of the image. It makes things align differently so you can lose unwanted clutter from the composition.
So besides making sure the light is appropriate for the scene, here are 3 landscape photography tips to consider.
- Take time – think of other possibilities for the location
- Find some foreground. It could make a world of difference
- Look to the side as well as in front. You might have missed something
These things are not functions of your camera. They are functions of you thinking like a photographer.