Retouching Backlit Photos

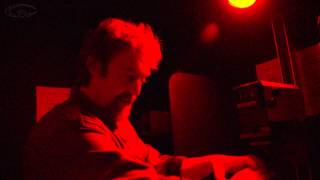
I love shooting into the light. It’s dramatic exciting and eye-catching. In Shoot Into The Light PT 1 you joined me on a real photoshoot for Louise James, designer of the revolutionary Buttafly Yoga Seat.
If you missed it, go check it out now so you understand more of what we need to achieve now when we retouch the backlit RAW file. (I say ‘file’ because we’re only working on one shot here. The principle is the same for all of them.)
When you shoot an image, you have to ask yourself powerful questions...
...about how you want it to look because cameras don’t take pictures, You do! The answer to these questions tell you which settings you’ll need in order to achieve what you want in camera. The next step is to create the finished image by developing your RAW file.
Some say post production is ‘cheating’ because proper photographers should be able to get it right in the camera. But all your photos begin life as a raw file that has to be developed into an image file. If you’re shooting JPG the camera’s on board processor does the post production automatically and deletes the raw file.
The problem with this is it doesn’t know how you want Your photo to look. It can only apply basic average post production as programmed into it by its manufacturer. Thant’s OK for an average photo. But what if you don’t shoot average photos? What if you shoot right into the sun, instead of putting it behind you like average photographers do?
(I’m going to make a video about this soon because the nonsense I see online about this drives me nuts!)
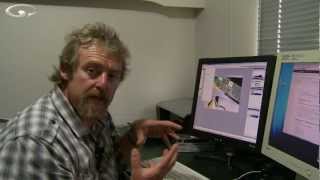
Post production is a painterly thing.
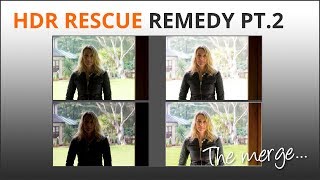
You do it a bit at a time, see how it looks, change a bit, add a bit, realise you’ve over-done it and back off. Small strokes can make a huge difference to a finished image. This photo is extreme though, it's massively backlit so we have to take extreme measures when retouching
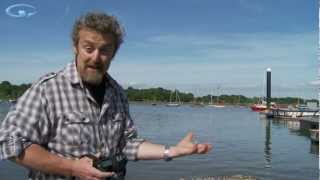
First you have to ask yourself what you want when developing it, just as you did when shooting it in camera. If you pre-visualise properly right from the start it’s easy, because you will have shot the photo with the retouching in mind.
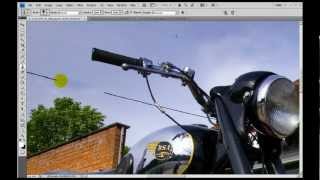
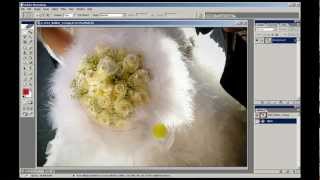
The most important area is the Buttafly Seat so it has to stand out. The seat is yellow so a large area of complimentary blue will help. And the human figure small in the frame will draw the eye in the right direction.
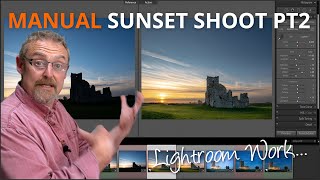
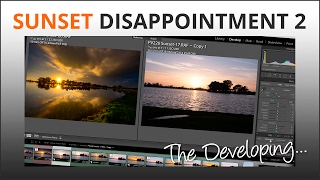
I want the highlights mostly burnt out, because the brief called for an area where text and graphics can be added. We want a bit of detail in the sky, but not too much it conflicts with the image’s message or any text and graphics, which may be added to it.
The histogram tells us there is detail in the shadows, which can be brought up with the shadow slider, and even those super bright highlights can be pulled down with the highlight slider.
Using a soft brush to mask the sky, we can add a little Dehaze and lower exposure a tiny bit to help the detail in the clouds. This makes the yellow colour cast from the sunlight more visible, but because we selectively masked the sky, it’s easy to correct that and take it back to a neutral pale blue; the compliment to the Buttafly Seat’s yellow. Happy days!
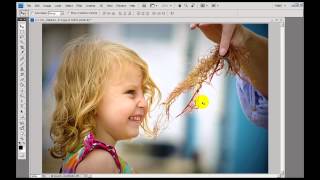
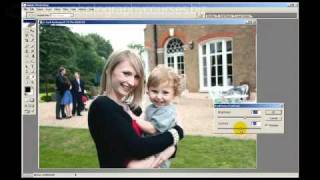
Then we need to make Louise and the Buttafly pop a little more.
You could use a small brush and do some fine detail masking here, but I prefer to use a radial filter because by blending it with the soft brushwork on the sky, the image has an old style ‘Hand Print’ look to it and creates an aurora around Louise. Which is very much inline with the whole meditation and spiritual nature of the product.
And there you go. As I hope you can see, the thinking doesn’t stop with the camera. You have to know where you’re going right from the start or you cannot make a map to get you there.
My 7 Steps To Perfect Pictures Lightroom course is for people who want help with retouching skills, AND the thinking behind the image they’re working on.
Retouching / developing / post production or whatever you like to call it is a critical stage of your photography and like shooting photos, it’s the opposite way round to what you may think. It’s not about shooting loads of frames then seeing what you can make from them in Lightroom, or memorising settings (because they’ll be different for every image).
It’s about knowing what you want first and that will tell you the settings you need to make it happen.