Light Qualities Change 2 - RAWS

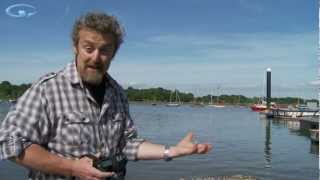
In Part 1 I was shooting in misty hazy conditions and showed you how we have to wait for light qualities to change to get the best photos. Here in part 2 we’re going to develop the RAW files.
I rather rashly promised to show you development of all the shots from part 1, but in the interested of keeping this video manageable, we’re only going to work on the 2 that were mentioned most in comments.
I don't want to retouch my photos. I want them to be right in camera
Some photographers, especially new ones, have the misconception that developing or retouching as it’s often called in programs like Adobe Lightroom is cheating. They want their images to be ‘right’ straight from the camera. The problem is images have always had some level of post production going right back to the beginnings of photography.
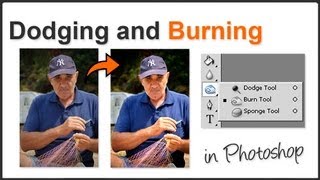
Once upon a time photographers used bleaches and pigments on pewter and glass plates. When negative film came along they added dodging and burning under the enlarger to lighten or darken selected areas of a print.
Slide film was the only media that was straight from the camera. And even slide film was manipulated by changing development temperature for contrast and sometimes retouched by hand using brushes, pigments and bleaches just like the pewter plates.
Think of a raw file as the digital equivalent of a negative. If you got exposure correct then it contains all the data or ingredients needed to make a great image, which you do in programs like Lightroom.
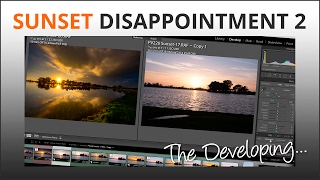
Both images chosen for the video are tricky.
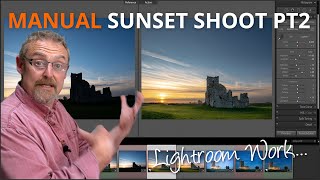
The light was hazy at time of shooting so we have to make up for that by getting the contrast looking better. I do this using the highlight, shadow, whites and blacks controls. By adjusting them to what Lightroom suggests is ‘correct’, you can then tweak them to what the eye says is pleasing to look at.
Next I move onto clarity, vibrance and saturation. If you like your images to look natural, be careful with these controls and don’t overdo it or they’ll look like they’ve had a load of work done. If that’s the look you want, then fine. Personally I don’t much like it.
So how much is too much?
That’s a subjective choice for you, the photographer. There’s no right or wrong, there’s only what you think looks good. So it can take many hours to find what that is to begin with.
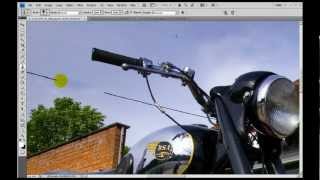
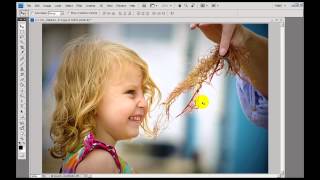
Lightroom has all kinds of filters that are massively adjustable and brushes for detailed work as demonstrated when I selected the interior of the abandoned restaurant in the video. These in turn can be fine tuned for specific areas of a photo.
Remember, cameras don’t ‘see’ light the same way we do which is another reason to shoot raw and develop your own images. You are the creative force so why leave the making of your jpgs to a camera that was programmed to make everything average?
Lightroom is a fantastic box of developing tools
We can make whatever we want from our images raw files. It’s also a fantastic file management tool that will do quite a lot of the basic post production for us when correctly set up. If you are always getting Image missing messages, can’t find photos and have no idea what a catalog is, my 7 Steps to Workflow Mastery course is perfect for you so please go check it pout.
My 7 Steps to Perfect Pictures course mentioned in the video is all about the development module of Lightroom and how I use it to create the look of my own photos. Raw developing is a major part of a photographers ‘style’, so if you want to develop your own style both these courses will help you.