How To Make A Black and White in Lightroom

In the early days of my career I shot loads of black and white photography for businesses needing photos for ads and advertorials in newspapers and trade press. In those days few such publications were in colour and if they were colour adverts carried a hefty surcharge. So most customers wanted nice contrasty black and white prints which I loved making myself in the darkroom.
Using a pro lab to print colour work was costly. 36 colour exposures developed and printed 6x9 cost around £50 - which sure made me Think before I shot.
Sure, it could be done for about £10 at a mini lab, but because you never knew who’d be operating the machine, consistent colour print quality was almost impossible to achieve.
I’d remind clients about colour advertising costs hoping they’d take the black and white option because back then I was struggling to pay the rent, had a lot of time available and it meant more work for me.
Sometimes I’d on shoot colour film so they had an option should they need it long term, but would print in black and white for initial publication.
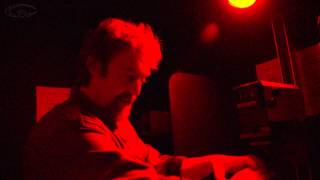
Colour negatives don’t have much contrast and it took a lot of experimentation before I mastered ‘publication quality black and white hand prints. But I loved my darkroom and the excitement of seeing the image come alive in the dev tray under that red light was wonderful.
I think making black and white photos in Lightroom needs more than simply removing colour and pushing sliders around hoping something will look good.
The best black and white’s always have some thought behind them and this begins at the time of capture. You have to think about what will and won’t work when there’s no colour separation.
That means using your 1st Building Block of Photography, your "Brilliant Brain", your imagination.
When the shot’s safely tucked away in your memory card, the next step is to realise your vision when you develop the raw. I make my black and white's in Lightroom because it gives me all the control I had in a dark room and then some...
In PT1 I wanted you to exercise your creative muscle and pre-visualise what something would look like in B&W, so I didn’t tell you it’s possible to set your picture control settings to monochrome so you can see it in the LCD.
If you’re starting out, seeing the shot in B&W on location will help you learn what does and doesn’t work. After time and practise you’ll start to know instinctively.
If the camera could make a black and white jpeg, what are the benefits of doing it your self?
It’s your photo not the cameras’, so make it your own by putting your own style, interpretation and emotion into it. A crucial step for the black and white photography masters of the past was their dark room skills. (For some it still is)
Dodging and burning, masking, contrast and even convergence correction were all done in post production. You might not have a darkroom but you can have a Lightroom.
Just like my early B&W from colour negatives, the raw you bring home will be in colour and the contrast will probably be quite soft. So the first step is to look at the photo and think about what it’s about, what you want it to say and then ways to achieve that.
If your image is a misty forest, how do you bring that feeling to life?
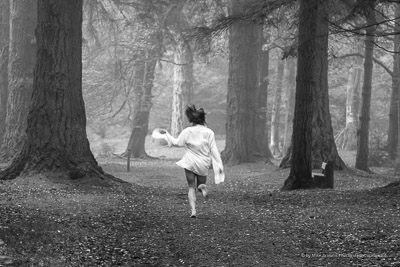
Hard core slider pushing won't work. Neither will relying on the contrast, black and white level masks. They might be technically accurate, but do they fulfil your vision?
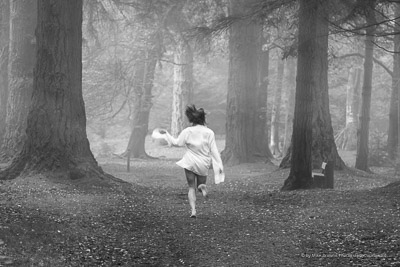
The top image is technically accurate, but does it fulfil 'Misty Forest in Black and White' as well as the one below it?
Lightroom has many subtle ways to reach a destination. Stacking them a little at a time will result in much more powerful imagery. Which you use is up to you, however black and whites do need a little extra thought. I can't tell you all that here because it's a big subject.
You have to understand Lightrooms' many tools to get what you want from a black and white. Then ask yourself what you want to achieve, plan the work and then do it.
Pushing sliders around to see what happens is a great way to learn what they do, but doing it in the hopes of getting a good one will never fulfill your dream goal, because you haven't thought of one.
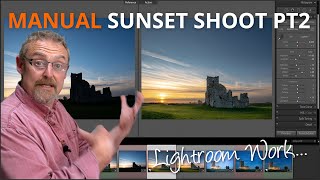
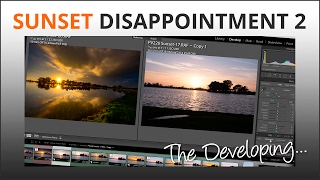
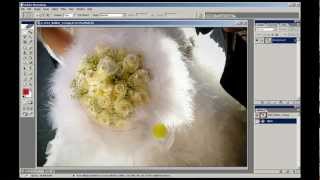
Lightroom is a powerhouse of possibilities. It’s not cheating, it’s your equivalent of the old dark room skills employed by the old time Masters. When I developed the image of the sun and flag in the video, notice what I said I wanted from it and how I made it happen.
To learn what Lightroom can do for you, what the tolls do and creative ways to achieve your goals, please take a look at my 7 Steps To Perfect Pictures.