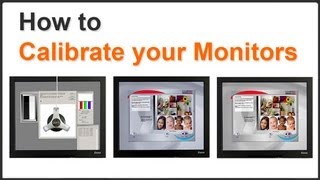
Dodge and Burn Photoshop
Like many tools in Photoshop dodge and burn have their origins in the days of darkroom hand printing and in ‘Photo Editing introduction’ you can watch me doing it chemical trays and all.
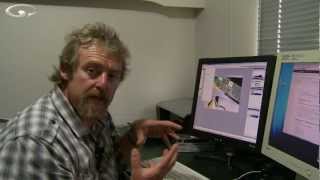
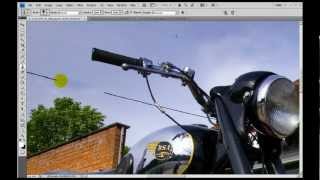
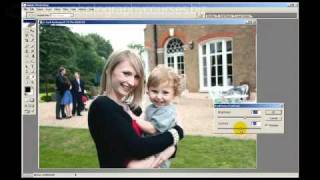
With Photoshop’s dodge and burn tools you can brighten or darken a specific area of an image to get the tones looking more natural, for dramatic effect or to concentrate the viewer onto a specific area.
Dodging brightens an area and burning darkens it, but you don’t use Photoshop’s tools in isolation. To get the best results you have to combine them with other tools to get the look you want.
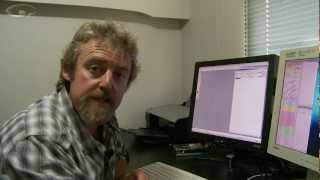
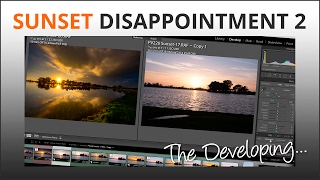
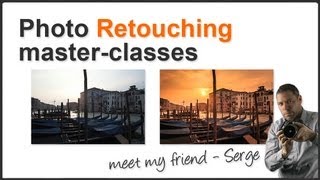
The image on the left is a Jpeg taken straight from the camera and despite being brighter; the one on the right has actually had a bit of burn done on it combined with a tweak to the image’s levels. For more on using Levels watch the Photoshop Brightness and Contrast film.
Nestled away with dodge and burn tools is another handy tool called the ‘Sponge Tool’ which works in the same way as the first two but works on colour which I’ll also show you.
Members can log in and download these two dodge and burn images so you can see how a subtle difference can make a big impact.