Depth of Field Sandwich

Image sharpness is another creative tool in a photographers bag of goodies. So lets make a sandwich so stuff stands out in our photos. There are loads of depth of field techniques that can be used in a variety of ways. Making a sandwich is one of my favourites because it adds layers of depth to an image and is so simple to do.
It begins with thinking about what you want your photo to look like. A soft foreground, sharp middle and soft background. Think about it a moment. Where will viewers look first? The sharp bit, so that’s where the subject of your shot has to go. The all you have to do is find the correct environment where there’s foreground and background for you to soften around it.
To master this sharpness technique, you have to look around you and imagine ways to use your environment. Cameras are amazing bits of tech, but they don’t take pictures for you. They only record what you tell them to, in the way you tell them to do it.
Always keep your eyes open wide, look around and imagine potential compositions, ways to use your environment.
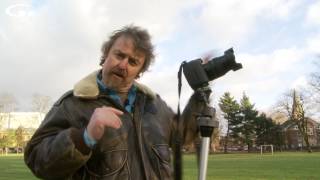
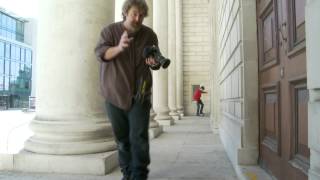
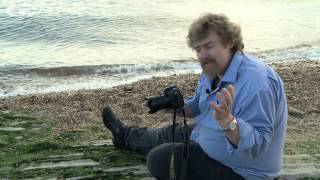
In the video you saw me find 4 depth of field sandwiches in some very ordinary locations. You don’t need to be clever, you just need to look around and think like a photographer.
Depth of field sandwiches aren’t usually possible with a wide lens because they have a lot more depth of field that a longer one, whatever aperture you choose. The only exception would be if you are very close to the subject shooting macro for example. Generally speaking this works best with longer focal lengths, because it’s easier to keep the point of focus within the infinity range of the lens.
When you find your subject, consider of a depth of field sandwich will work for it. Get that imagination muscle working. Next look around to see what you can use as foreground. It could be grass, concrete, corner of a building, branch of a tree, some leaves…
Next make sure that when you focus on your subject, it (they) are within the infinity distance of your lens. Not all lenses have a distance scale anymore. If yours doesn’t, you can check by …
Compose shot and focus on subject
- See if you can manually move the focus point further away so they get softer and background gets sharper.
- If you can – they are inside the infinity point, so simply re-focus on your subject.
- If you can’t – the lens is already at infinity. You need to move closer…
What about the camera settings?
Think about it for a moment. When shooting a depth of field sandwich your aperture isn’t being used as an exposure control. It’s being used as a creative depth of field control so you don’t want to mess with it. You’re using the widest aperture so you make the exposure using the shutter speed and ISO.
Which ones? I can’t say because camera settings will be different for every image you take. There are never any ‘correct’ one-stop certainty camera settings. As you move closer, further, light changes etc. so your settings change too.
Photography works in revers to the way most think it does. The settings don’t give you the photo. The photo tells you the settings you need to capture it. The only way to know what they are is to learn what they do, how they affect the way an image looks. Then when you see something and pre-visualise it, that pre-visualisation holds clues about which settings you’re likely to need.
If you’re struggling with that concept, please let me be your guide with my Masterclass in Photography Photo Course. I know there’s loads of free stuff out there and much of it’s excellent. But how do you know where to begin? What you need to know about and what you don’t? Is the trainer someone you can relate to?