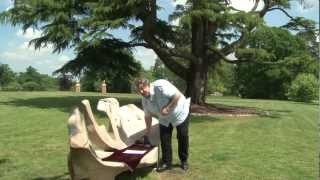
Manual Sunset Shoot

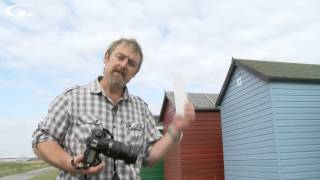
Everyone loves a sunset, so we thought it’s high time to go and shoot one just for the fun of it and talk you through making the exposure in manual mode along the way. The ability to shoot manually is the most important basic skill a photographer has to be able to master because cameras aren’t infallible and don’t always get the exposure spot on.
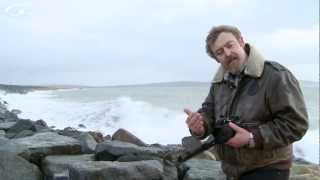
Sunset camera settings vary for every shot and will be changing all the time, along with the light. Camera settings are more than mere exposure, they’re creative tools as well. How much depth of field do you want? If you’re lucky enough to be shooting sunset over a waterfall, do you want to freeze the water, or give it a bit of movement blur?
These are creative choices of aperture, shutter and focal length you have to make as you decide how you want your photo to look, then use ISO to compensate for these creative choices to get the exposure you need. That’s why there are no ‘settings’ for a given genre, subject or situation.
Cameras and eyes ‘see’ light differently, especially in very high contrast situations where the light levels are super bright in one area and much darker in another. If you don’t believe me, take a photo of someone standing in front of a window and I bet you’ll have either a silhouette of them, or a blown out window and them just right. I bet you’ve got a few shots like that already. But You can see both the person and the outside perfectly. This is what I mean when I say cameras and eyes seeing light differently.
A sunset sky on it's own is kinda boring...
When there’s no sense of place it leaves viewers wondering what’s going on and with a load of unanswered questions. Where were you? Where was this sunset? What were you doing when this sunset happened? Were there any people about? What’s going on around it? You need more of a story to capture the viewer's interest.
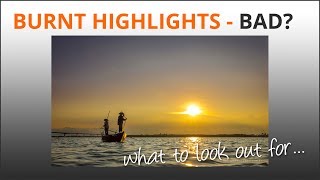
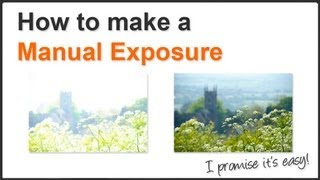
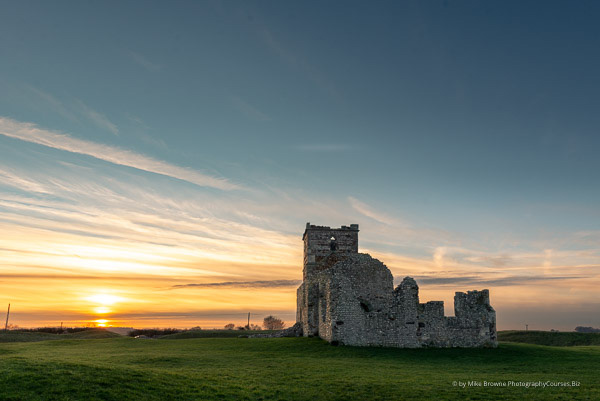
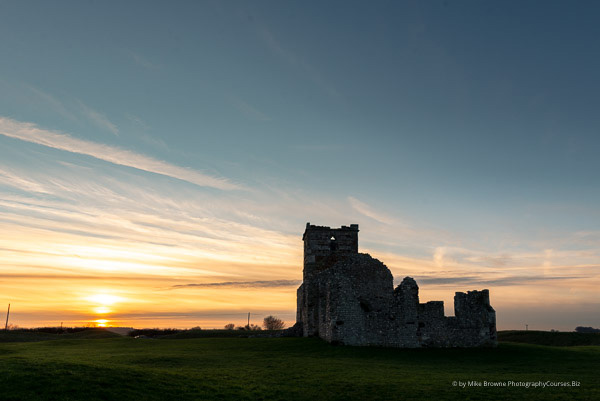
The best sunset photos are rarely just a pretty sky, they’re a landscape / cityscape / portrait etc, which include a sunset. (Or sunrise…) But as soon as you introduce these things you’re in the ‘silhouette-in-front-of-the-window’ scenario. Especially when the sun is still above the horizon during ‘Golden’ hour.
Your eyes see this…
But your camera sees this....
Or possibly this...
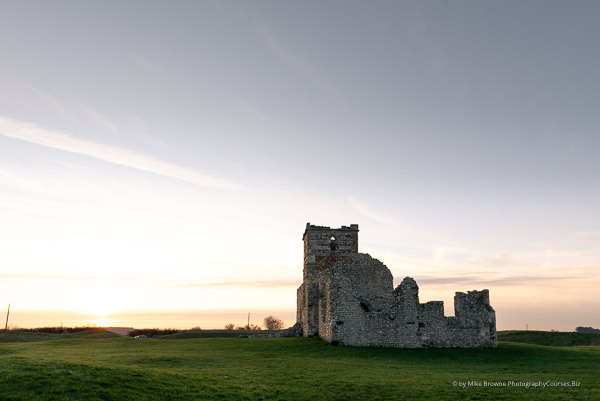
Switching modes won’t help...
Inexperienced photographers often ask if spot metering will help - it won’t. The 2nd image is basically metering for the sky and the 3rd one is metering for the church walls. The problem is your camera’s missing the one crucial feature that cannot be added to it. The ability to think about what the scene is and how it looks to a human eye, when it turns the data it captured into an image file such as a jpeg or tiff. It has been programmed for an average scene and for the most part it’ll do a great job with ‘average’. But sunset / sunrise shots are not average, they’re super contrasty.
The solution…
In situations like these you have to make your own jpeg by shooting RAW and getting the exposure absolutely perfect. By ‘perfect’ I mean capture as much data in the RAW file as possible by adjusting exposure so as much of the histogram as possible is within either end of the graph. (It doesn’t matter if it goes off the top, but the ends are critical.)
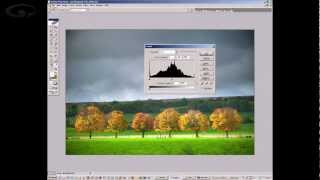
The best way to ensure this is to expose manually so you are in complete control and make tiny adjustments yourself to ensure as much data as possible is retained within the ends of the histogram, as you saw me do in the video. Here’s the image above as seen in the back of the camera with it’s histogram.
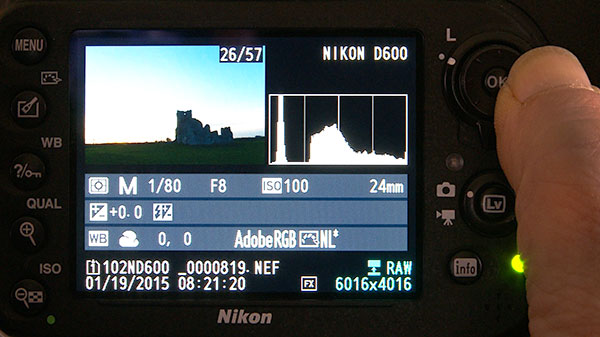
Doesn’t look much like a sunset does it?
That’s because the image in the back of the camera is a jpeg made by the cameras non thinking average algorithm.
The LCD image is only useful as a guide. All those glorious reds, oranges and golds are there in the RAW file, but the camera didn’t bring them to life when made a jpeg because it doesn’t know it’s a sunset and that you want to keep the details in the super bright areas, so it ignored them.
The important part is the histogram which shows the dark tones at the left end are not touching the edge, so all the shadow details are there, even if you can’t see them. The right end has a little spike just touching the edge. That’s the super bright sun and clouds around it that have burnt out. And that’s OK. If you look at the sun with your eyes, it’s burnt out along with clouds that are close by.
All the data is needed is there in the RAW so when it’s developed, the image can be made to look natural, the way it did to our eyes. I’ll be showing you that in Lightroom in Part 2.
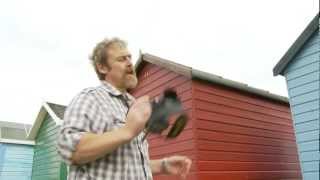
Don’t think you can fix anything in Lightroom...
Shooting RAW is not an excuse to be sloppy or careless. As I mentioned, sunsets (and other super contrasty situations) have to be exposed perfectly because you cannot make a silk purse from a sow's ear. If the data is off either end of the scale, it’s not there and there’s nothing you can do to fix that in Lightroom or anywhere else.
To make a great sunset image you have to have a perfectly exposed, composed and lit RAW file to begin with. Just like you needed a perfectly exposed negative to make a perfect print.
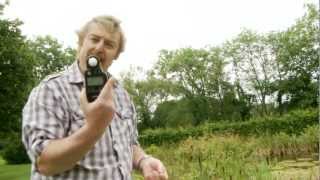
Manual exposure is a fundamental basic of photography and you must learn how to control it yourself. And it’s not that scary , there are only 3 controls and I’m sure you can master them if you try. Manual exposure isn’t just choosing settings according to the light meter. That’s the same as shooting in auto. The only difference is you are setting what the camera wants yourself, instead of letting it do it itself.
You can do what your camera cannot. You can Think for yourself. When shooting sunsets, you often have to set an exposure the camera says is too bright or too dark. Read and use the histogram as I showed you and you’ll be fine.
The camera’s a vehicle, but if you want to go somewhere you’ve got to learn how to drive it. Give me 3 hours of your time for 5 weeks and I’ll teach you all you need with my online Masterclass in Photography. Please go take a look and even try a free sample now.
If you’re already confident you can drive your camera efficiently, your next step is to invest 3 hours per week on my 7 week, 7 Building Blocks Of Photography online course and learn how to think like a photographer and seamlessly connect the technical and creative aspects of photography.
Keep your eyes open for the next part of this sunset shoot when I’ll show you how I developed the RAW files and made these images look how I saw them. Click ‘Yes Please’ in the banner below and I’ll ping you an email as soon as it’s live…
Best wishes…