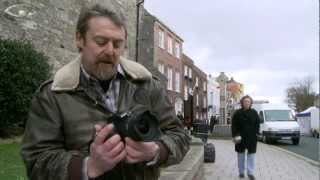
Photographing Interiors Pt. 2

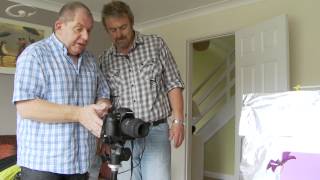
In Interior Photography pt1 we went through the steps you need to take to make sure the room looks great and your camera and composition are properly set up for maximum data and sharpness.
The next stage in producing an image is to process the RAW file. Why shoot RAW for interior photography? Take a look at these two images.
At first glance they look the same, but look closer. The top image is a bit heavy, the shadows and highlights have very little detail in them. With interior photography it’s crucial to make the place inviting, so for me at least the bottom image looks like a place I want to go have a beer.
The top image is a straight shot as the camera saw it, but the bottom one was shot RAW so I captured maximum image data then brought out by processing the RAW into the finished jpeg - which can be used for promotion etc.
In this video we’ll show you how to bring out the highlight (including that troublesome one I was so worried about in Interior photography pt1.) and shadow detail, manage colour accurately and help you understand how important it is to think through how an image is going to be used before you take it.